Looking to add a charming feature to your garden or impress guests at your upcoming wedding? A wishing well might be just the thing. With these 25 DIY plans, you can build your own wishing well without needing to be a master carpenter. From wood to brick to pallets, there is a plan to suit your needs and budget.
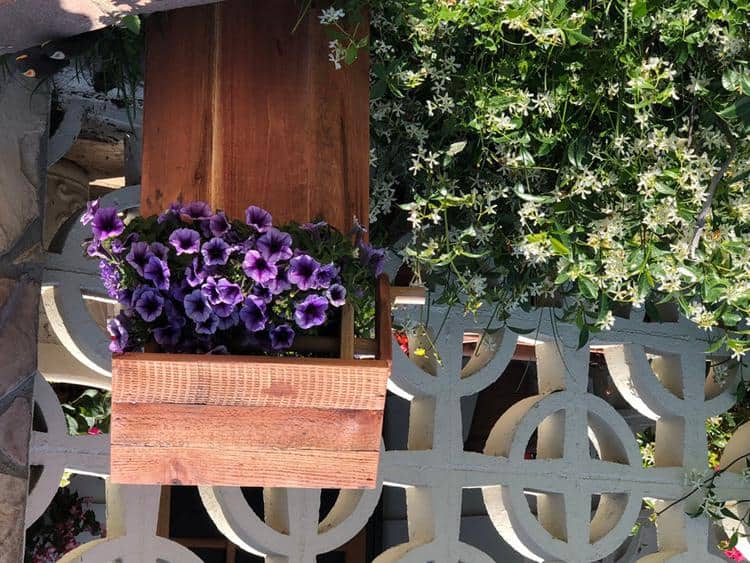
How To Build A Wishing Well Planter
To build a wishing well planter, start by investing in high-quality, weather-resistant lumber like pine or cedar. Make sure to take accurate measurements before adjusting the size of the components to fit.
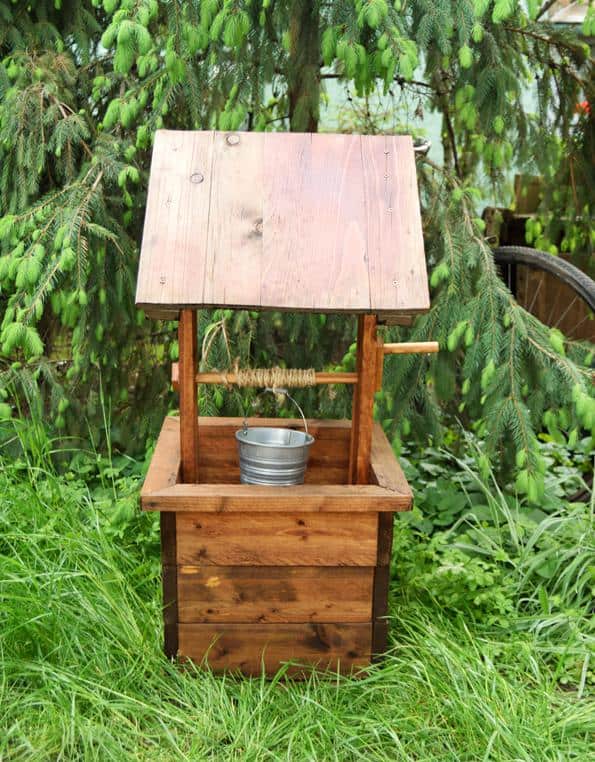
DIY Wood Wishing Well
You can easily create a charming four-foot wood wishing well in your backyard with just a few supplies. Gather twelve fence boards, six 2 by 4s, nails, screws, and a large dowel rod. Follow the instructions carefully and you’ll have a beautiful wishing well to enjoy in no time.
How To Make A Garden Wishing Well
Making a garden wishing well is an easy and fun DIY project that you can do with old tires and sticks. Here are the steps to make your own:
- Gather old tires from an auto mechanic workshop or another source.
- Stack the tires on top of each other and secure them with screws or bolts.
- Cut a hole in the center of the top tire for the well opening.
- Paint the tires in a color of your choice.
- Collect sticks and lay them across the top of the tires to create the roof.
- Secure the sticks with screws or nails.
- Paint the sticks in a color of your choice.
- Add any additional decorations such as a bucket or rope.
Watch a video tutorial for more detailed instructions and inspiration.
How To Build A Wishing Well
Building a wishing well can be a fun and rewarding woodworking project for your yard. Follow these steps to create a great looking and functional wishing well:
- Gather your materials: wood boards, screws, nails, saw, drill, and a measuring tape.
- Cut the wood boards to the appropriate lengths for the base, sides, and roof of the wishing well.
- Assemble the base and sides of the wishing well using screws and nails.
- Cut and install the roof of the wishing well.
- Add decorative elements such as a bucket, rope, and stones around the base.
DIY Wishing Well Plans
Looking to add a charming touch to your garden? Build your own wishing well with these DIY plans. Customize the design to fit your personal taste and enjoy the beauty it brings to your outdoor space.
DIY Wishing Well Plans
If you have a wishing well that has seen better days, it might be time to rebuild it. The base alone requires 192 pieces and 768 screws, and the horizontal pieces can hold water and cause rotting. To rebuild your wishing well, you can mill an old cedar log and fabricate all of the parts yourself. By doing so, you can create a beautiful and functional wishing well that will bring joy to your garden for years to come.
How To Make A Wishing Well
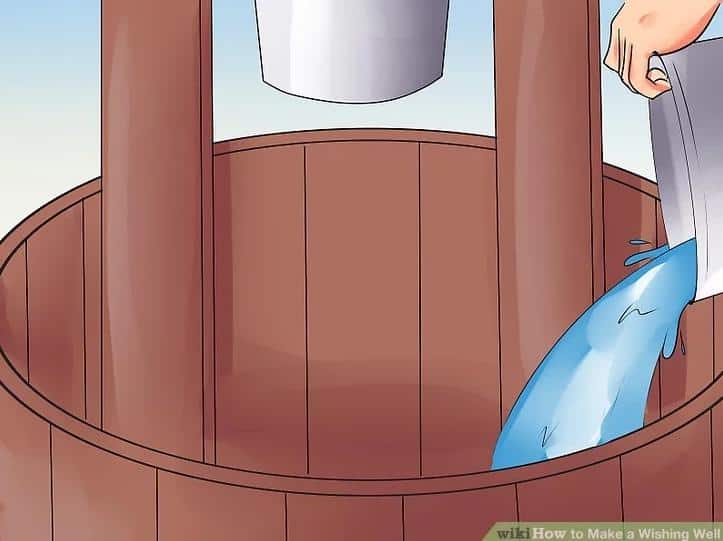
Making a wishing well is a simple yet fun project that anyone can do. Here are the three major steps to make a wishing well:
- Making the well base: Start by choosing the size and shape of the base, then cut and assemble the pieces. Use nails or screws to secure the boards together.
- Attaching the roof: Cut and assemble the roof pieces, then attach them to the base using hinges. This will allow you to access the inside of the well easily.
- Adding a bucket: Choose a bucket that fits the size of your well, then attach it to a rope or chain and hang it inside the well. This will give your wishing well an authentic look.
Once you have completed these steps, you can add any additional details or decorations to your liking. With a little bit of effort, you can have a beautiful and functional wishing well in your backyard.
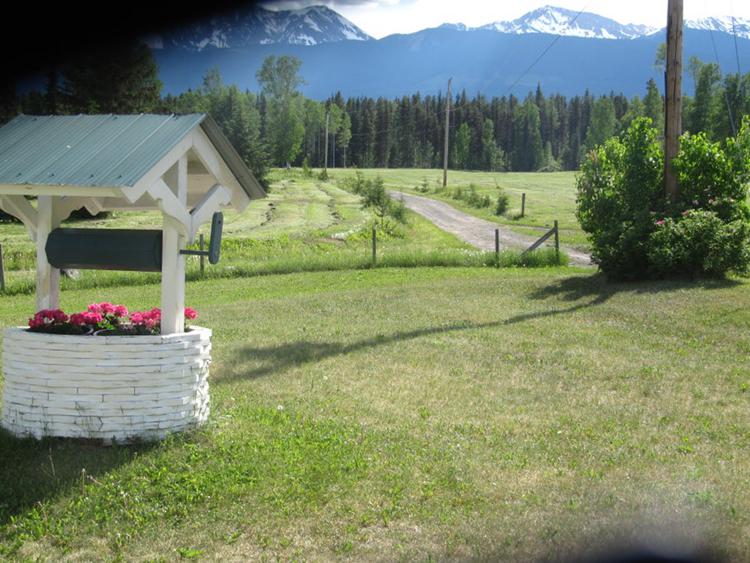
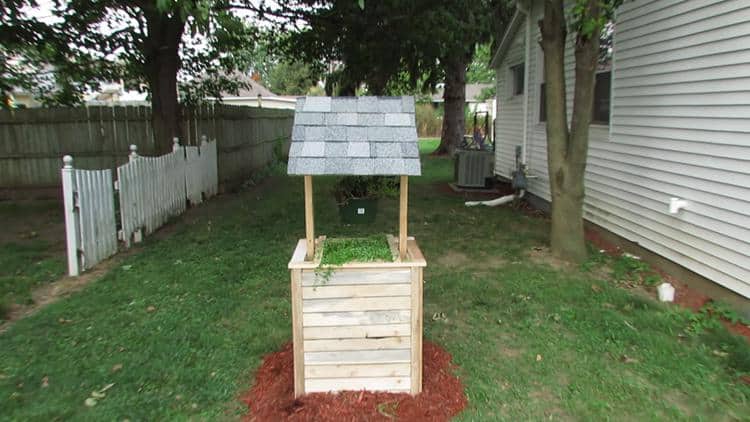
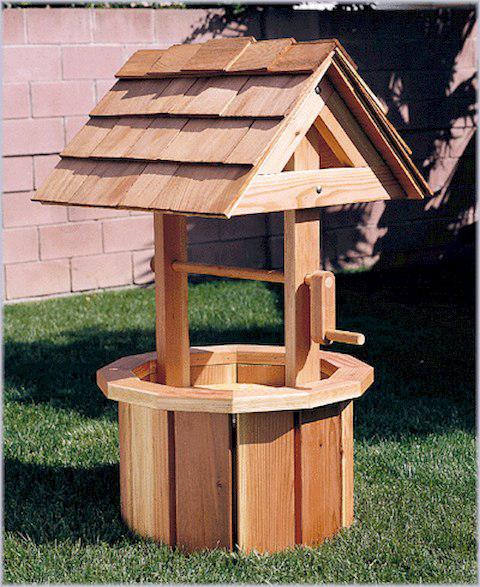
DIY Wishing Well Planter
Create a charming addition to your garden with this DIY Wishing Well Planter. Standing at 44.5 inches tall, this project features a 21-inch wide and 15-inch high well, and a 22.75-inch by 23.75-inch roof. With an intermediate skill level, this project is perfect for anyone looking to add some character to their outdoor space.
DIY Wishing Well Planter
Create a stunning wishing well planter for your plants and flowers using spray-painted plastic bottles and unused tires. The colorful and simple design adds a beautiful touch to any garden.
DIY Burn Barrel for Cooking and Containing Fires
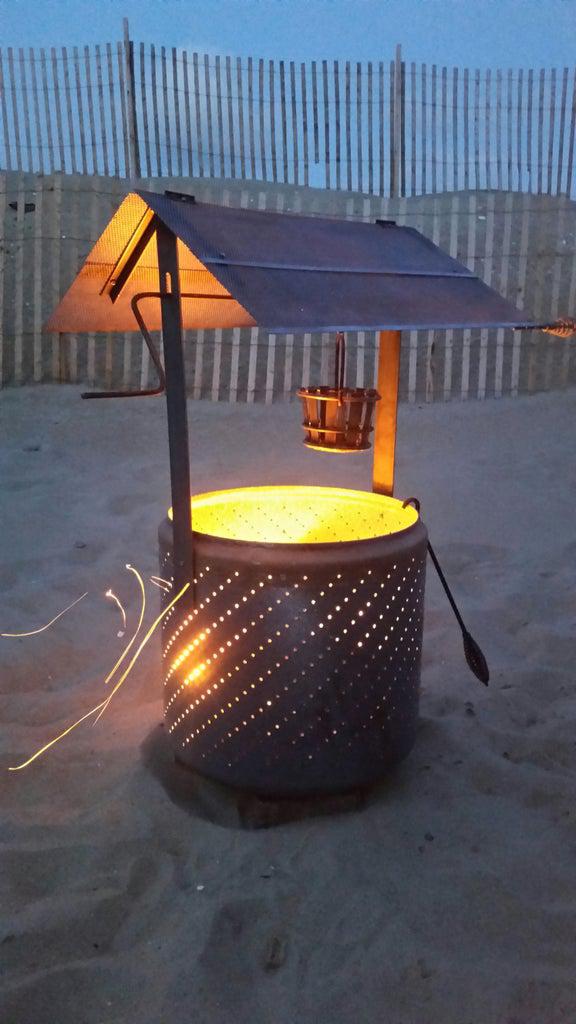
This design is perfect for containing fires and cooking simple meals. The metal basket can be filled with foil-wrapped food like meat and veggies, then lowered into the fire like a traditional water bucket. Once cooked, the basket can be reeled back up for retrieval.
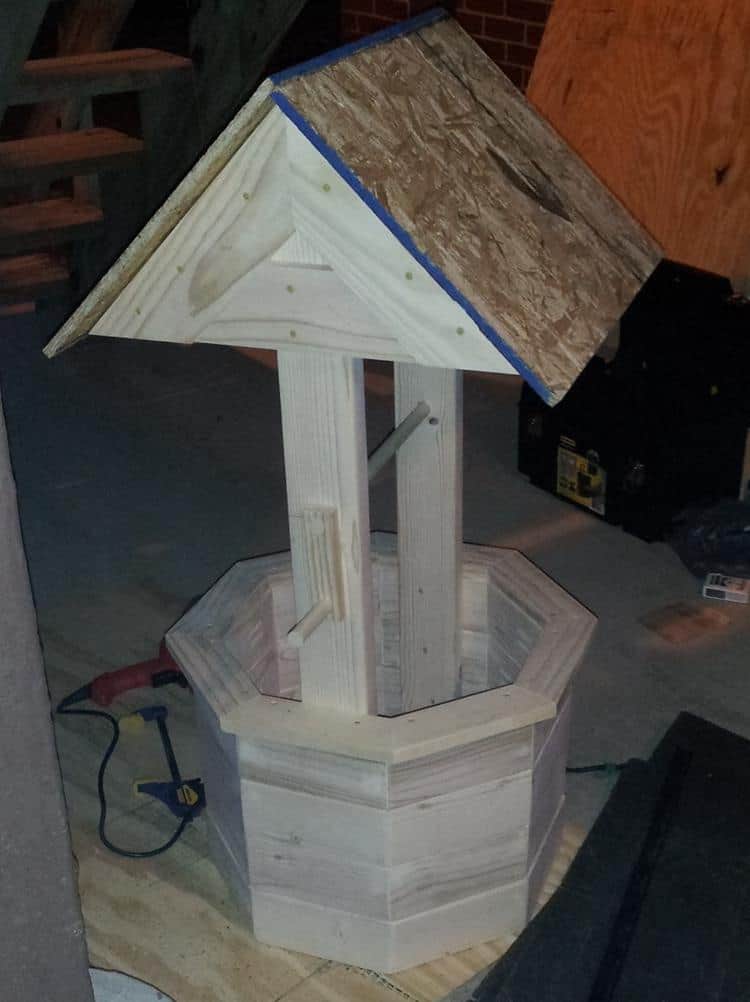
How To Make A Simple Wishing Well
Making a simple wishing well is an easy DIY project that can be done in six basic steps. Firstly, gather wood scraps and cut them to size. Then, build a frame using the cut wood and add slats to create the sides of the well. Next, make a roof using additional wood scraps and attach it to the top of the frame. Finally, paint or stain the wishing well to match your outdoor decor. With these simple steps, you can create a charming wishing well in no time.
$20 Wishing Well Planter
Building a wishing well planter is an affordable and beautiful way to add charm to your garden. To make this planter, you will need a table saw, miter saw, jig saw, drill, and cedar fence posts. First, cut and assemble the base, attach side rails, and make the roof. Then, make the lever, cut out the base, and apply the finish. Finally, attach the plant and enjoy your new planter. With just $20, you can have a lovely addition to your garden.
DIY Wood Pallet Wishing Well
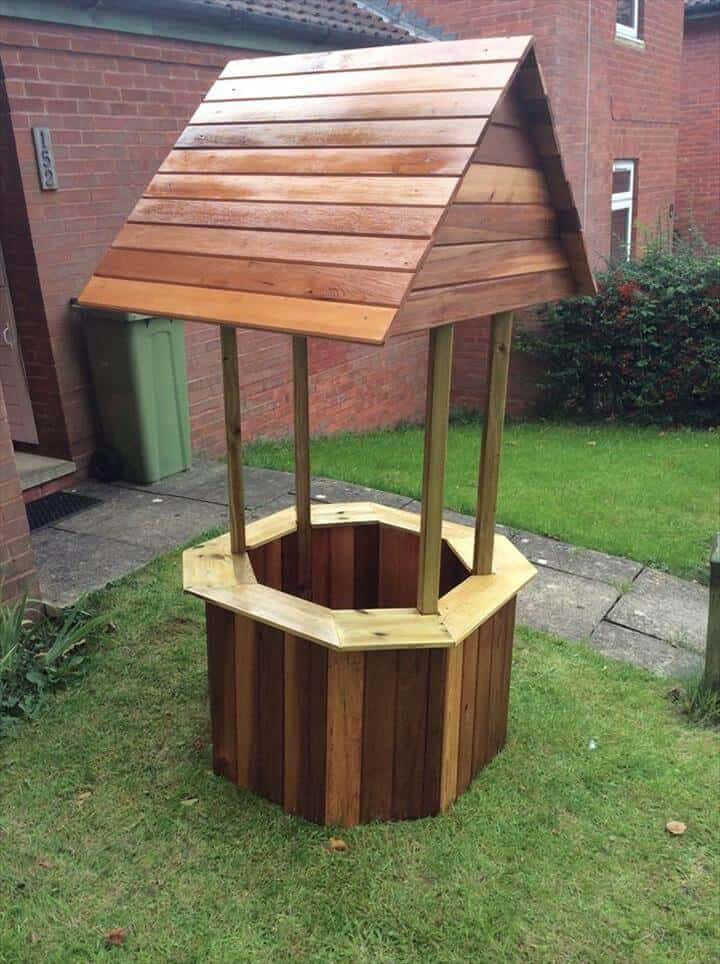
The hexagonal base structure is made from pallet lengths and has a charming boundary all around. The A-frame roof and base have been stained in a chocolaty shade, highlighting the natural and rustic beauty of pallet wood. This wishing well will add an accent of charm to your garden.
2. How to Construct a Wishing Well
From nothing to something even if it’s nothing more than a wishing well, at least it’s something. In summary of this, cut wood, glue, nail, paint, definitely a roof, and every other thing in the video.
DIY Small Wishing Well Planter
Right about now, you’re going to create a small wishing well that is portable enough for your garden. Pallet wood will serve justice to this awesome build and you can stain and paint to give a great finish.
How to Construct a Brick Wishing Well
Building a brick wishing well can be a fun and rewarding project. Remember to take your time and follow the instructions carefully. With patience and attention to detail, you can create a beautiful brick wishing well that will bring joy and charm to your garden.
Affordable DIY Wishing Well
This project is easy to construct and can be completed in just a few days.With a little effort, you can have a beautiful wishing well that will be the envy of your neighborhood.
6FT Wishing Well Plans
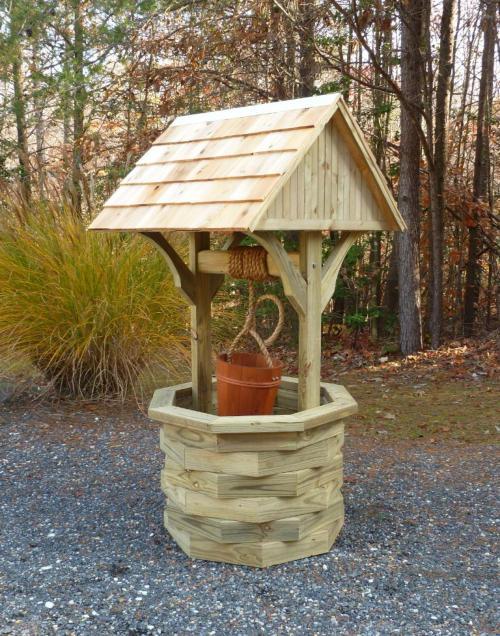
Build your own 6 ft. wishing well with a cedar shingle roof, rope, and hanging bucket. Impress your neighbors with your intermediate woodworking skills and a few tools. Follow the detailed plans for a beautiful addition to your yard. Click for more details.
Build Your Own Wishing Well
Building your own wishing well is a fun and creative project that can be accomplished with the right tools and materials. To ensure durability, use pressure-treated or hardwood lumber for outdoor use.
Build Your Own Wishing Well with Pallet Wood
If you’re looking to add a touch of mystery and charm to your garden, consider building a DIY wishing well using pallet wood. This project is easy to complete and can be installed in any visually attractive location of your garden. By using recycled aluminum, you can create a fanciful wishing well that will be the perfect addition to your outdoor space.
Summary
With a few basic materials and some simple tools, you can create a charming focal point that’s sure to delight visitors of all ages. Whether you opt for a traditional wooden design or a more modern interpretation, there are plenty of plans and tutorials available online to help you get started. So why not roll up your sleeves and get to work on your very own wishing well today?