
Navigating the ins and outs of an unfamiliar tool like hydrometers can be intimidating at first. However, it doesn’t have to stay that way.
With a bit of research and practice, you’ll soon learn and be confident about using it. For breweries, hydrometers have been a staple tool in crafting great beers. So, if you are interested in the field, you should know how to use and read a hydrometer.
Hydrometer Basics
A hydrometer is a simple tool used to reveal the relative densities of liquids compared to water. This makes it easier to determine alcohol content and test salinity levels. This tool also provides some more essential data about your beverage.
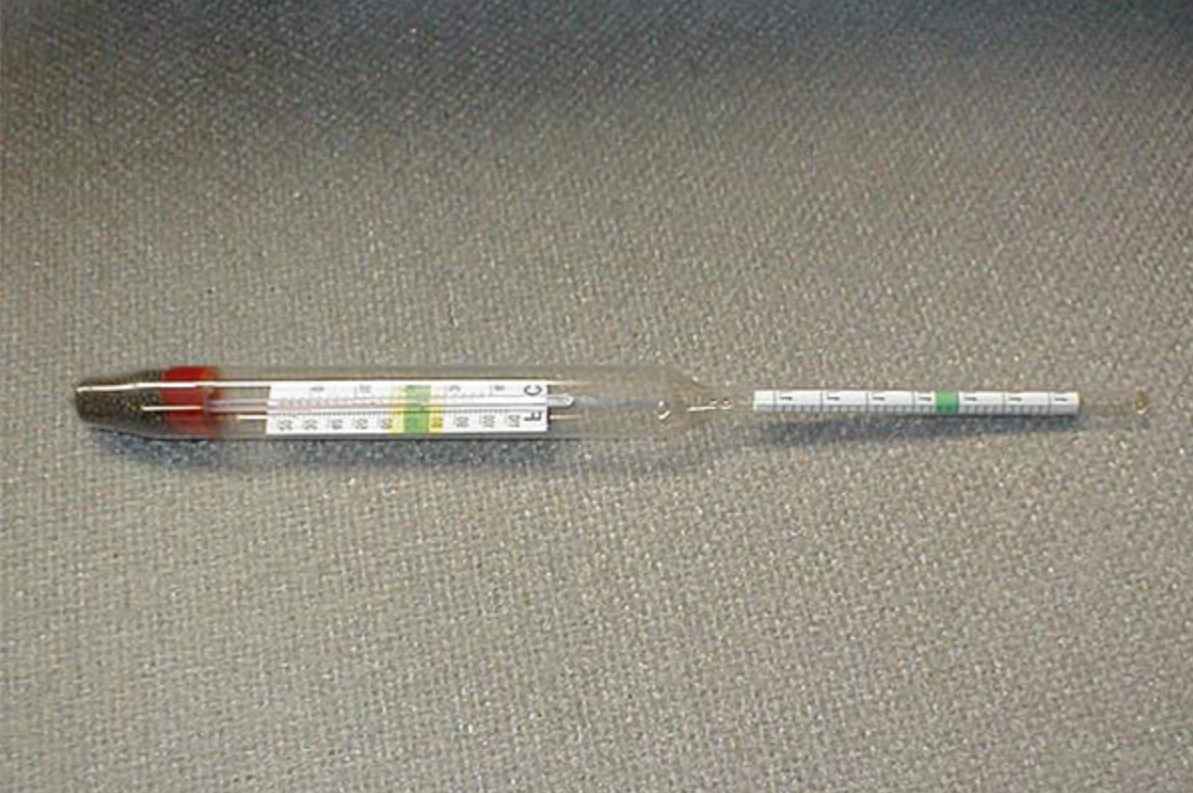
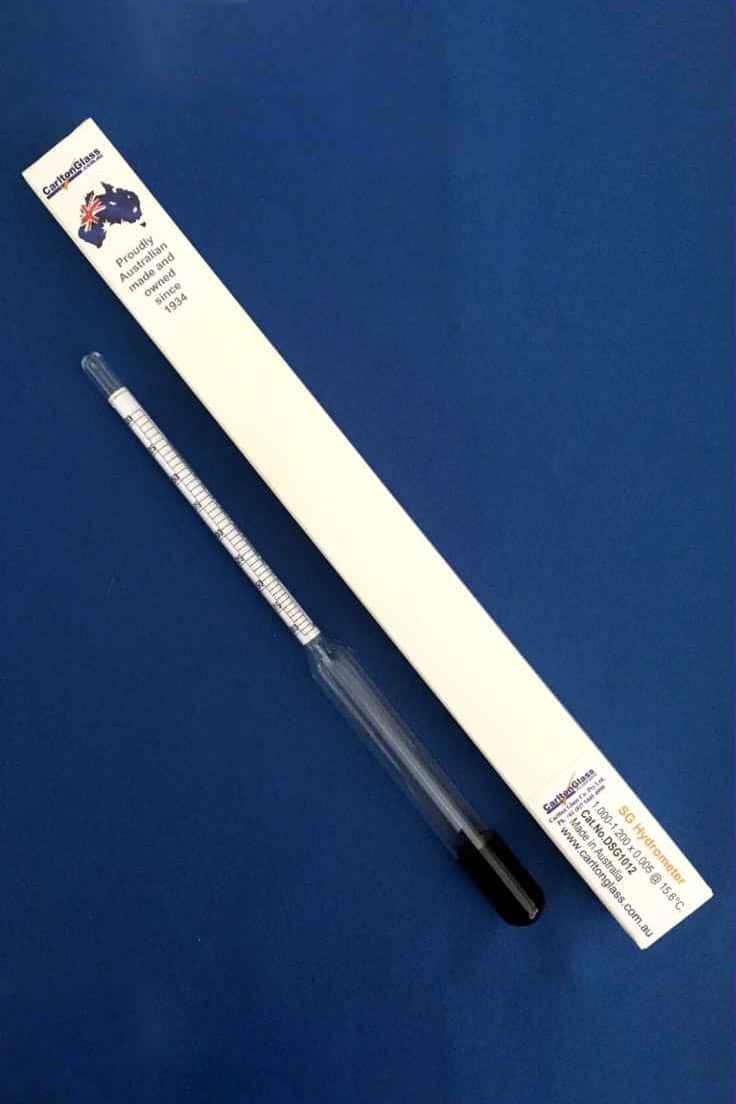
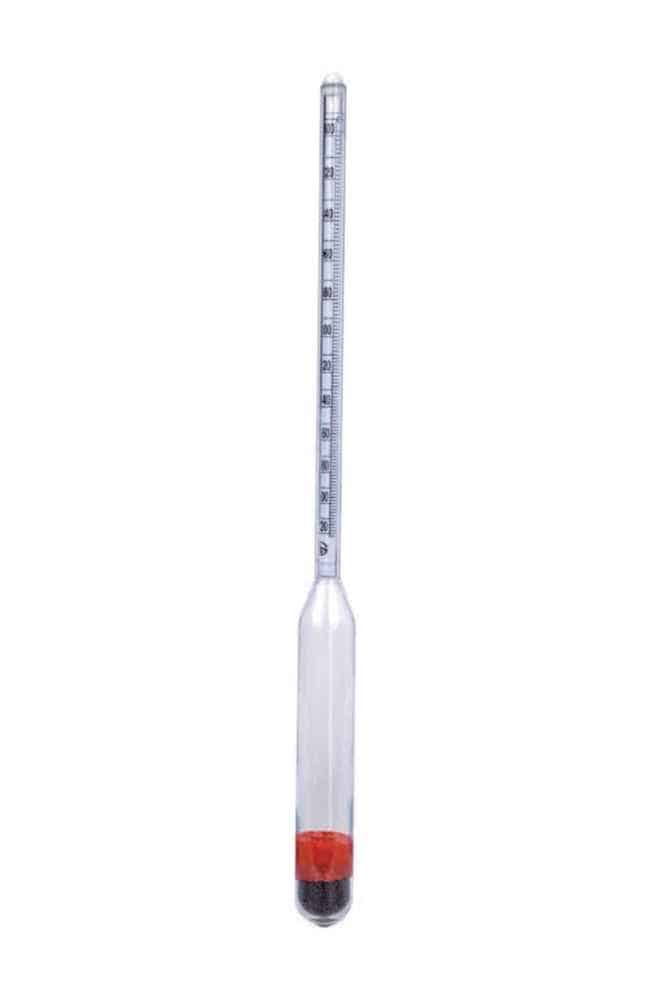
The tool resembles a glass tube with an unassuming submerged bulb. Upon closer inspection, you will see that it’s designed to weigh so that it would stand upright in the water. Its design provides precise measurements of specific physical properties in liquid solutions.
A hydrometer is a tool with one primary purpose, but it also has many specialized variations. These variations allow for more specific measurements such as sugar content and alcohol concentration.
From homebrewers to distillers alike—the humble hydrometer remains the go-to instrument for measuring specific gravity. As a brewer, it’s important that you know your liquid and the information you want to get out of them. This way, you get to calibrate and use the tool to your advantage.
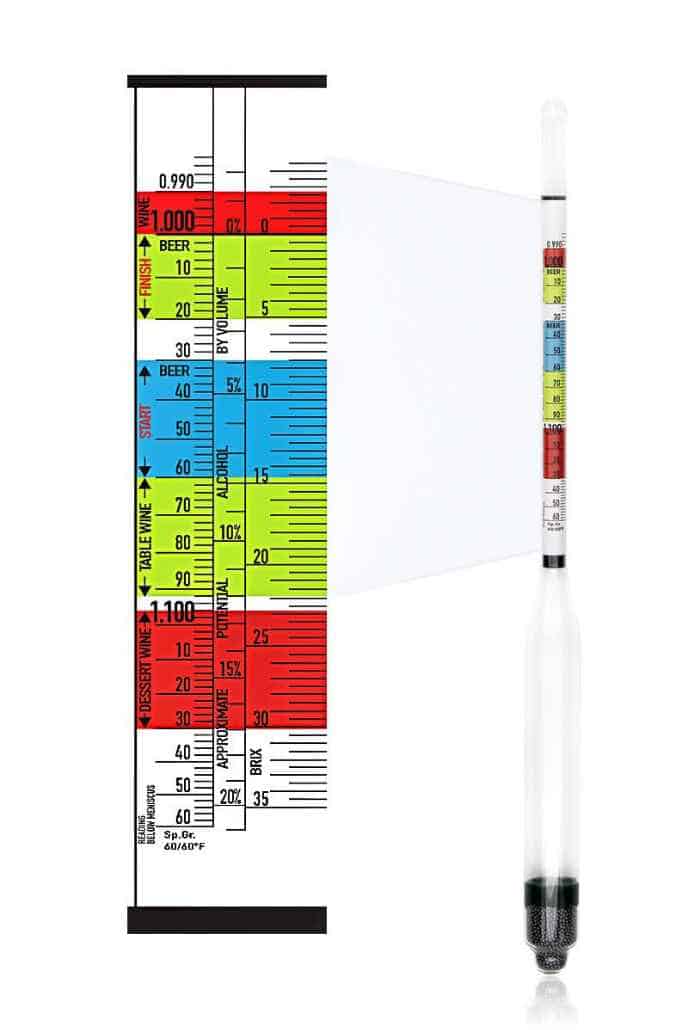
Hydrometer Scales
Alcohol scale
This hydrometer offers a specific way to measure alcohol content. By taking two separate readings of specific gravity, you will find out the alcohol content in any liquid. This is true from fermentation through consumption.
As fermentation begins, the liquid transitions from a dense concentration of sweet sugars to a lighter density due to the converted alcohol content. This transformation affects how deep the hydrometer sinks when placed in the container. It could sink deeper after fermentation has taken hold and float higher before.
API scale
API-scale hydrometers are tools used to gauge the density of petroleum liquids. Comparing their relative weight to that of water provides a way to determine the weight of specific fuels.
Baume scale
This hydrometer is the type that’s calibrated to read degrees of Baume. This tool allows for the measurement of differences between heavier and lighter liquids. The Baume scale provides an accurate differentiation of two fluid types for whatever solution.
Specific gravity
SG hydrometers are the go-to solution for measuring liquid densities. But, as temperature shifts, it affects the reading accuracy. It’s essential to take note of any corrections required by variance in temperature. This way, you get more reliable results.
Brix scale
Brix hydrometers offer a precise way to measure the sugar content of solutions. You can achieve this by measuring the weight percentage and considering the temperature. Custom-calibrated models are also available for alternate temperatures.
Sodium-chloride-scale
Hydrometers also provide an innovative way to measure the salinity of liquid solutions. This tool, specifically calibrated for sodium chloride, gives us insight about the amount of salt present in mixtures. With their easy-to-use design and accurate readings, these tools are becoming a necessity in labs and breweries worldwide.
Using and Reading a Hydrometer
Step 1: Check the hydrometer temperature
You need to test liquids at the right temperature for accurate readings. The only way to ensure this is by using a calibrated hydrometer for their temperature. Review your device’s manual or label before use. It should reflect its intended design temperature.
Step 2: Take note of the liquid’s temperature
Scales can vary in sensitivity to environmental temperatures; some need precision heat settings for accuracy, while others may behave differently at different temps.
So, it’s essential to check on it before using a hydrometer. To make sure the wort is at its ideal temperature, measure it with a thermometer first. This way, you will be able to get more accurate results.
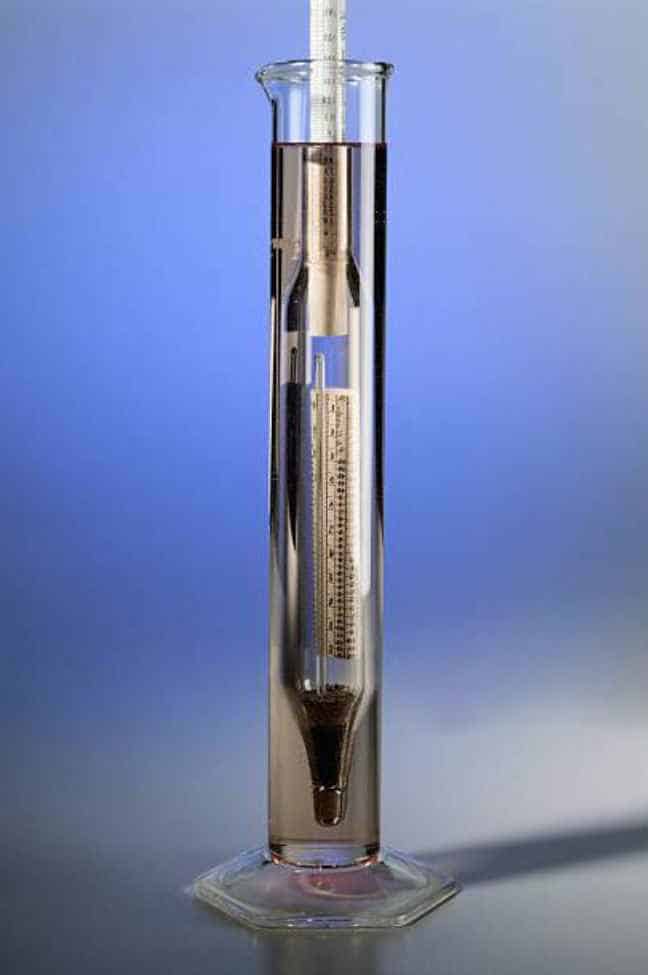
Step 3: Take a sample
Take a sample amount of wort from your fermentation vessel. Then, fill a test tube roughly three-quarters of the way. This should be enough liquid for a hydrometer to float without scraping the bottom.
Make sure that the amount will not overflow even after submerging the tool. During this process, you would notice a subtle dip in a liquid’s surface when it fills a jar. This curvature is the meniscus. Meniscus refers to the curvature seen at the surface of a liquid in response to its container.
Step 4: Put the hydrometer in
Submerge your hydrometer into the liquid. Be careful not to let it drift too low, or else you’ll miss out on an accurate reading. Make sure it is dry before inserting, as any moisture can interfere with proper reading.
Step 5: Spin
Give the hydrometer a gentle spin to free any air bubbles that may have become attached. Allotting time for everything to settle is essential. You won’t get an accurate reading until all movement and bubbles in the liquid have ceased.
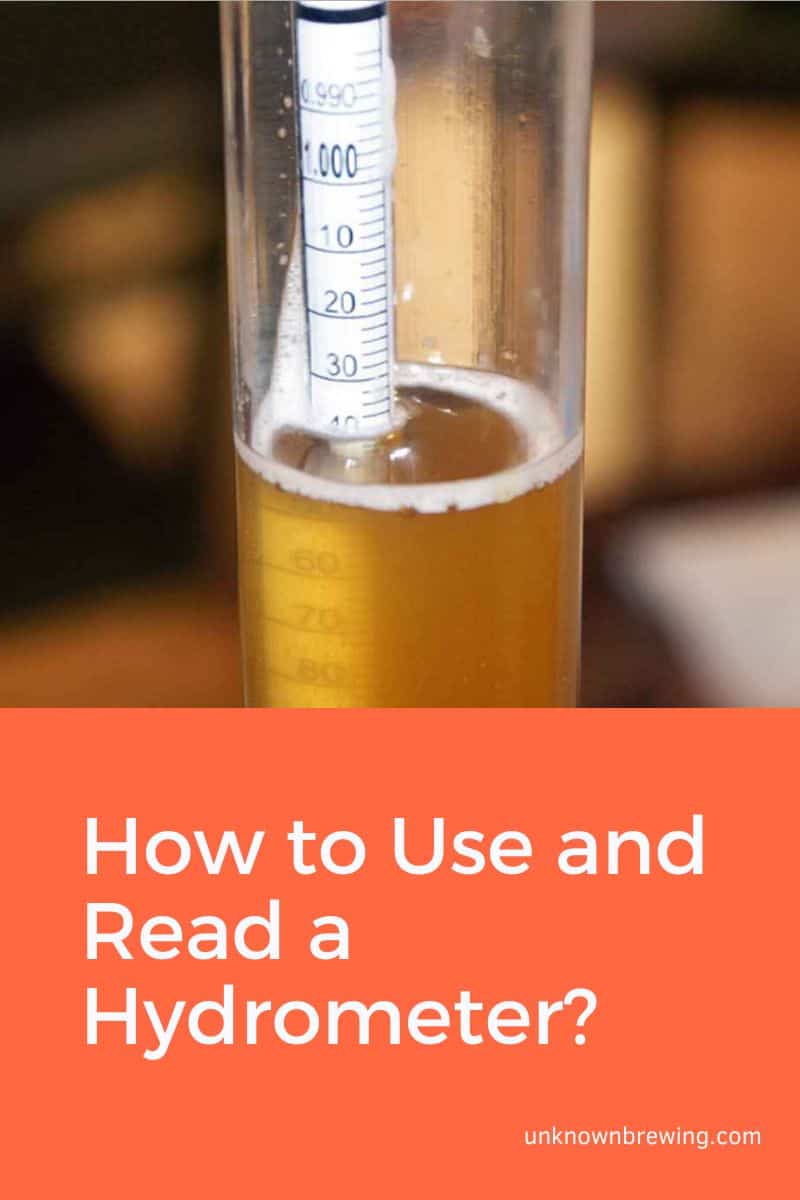
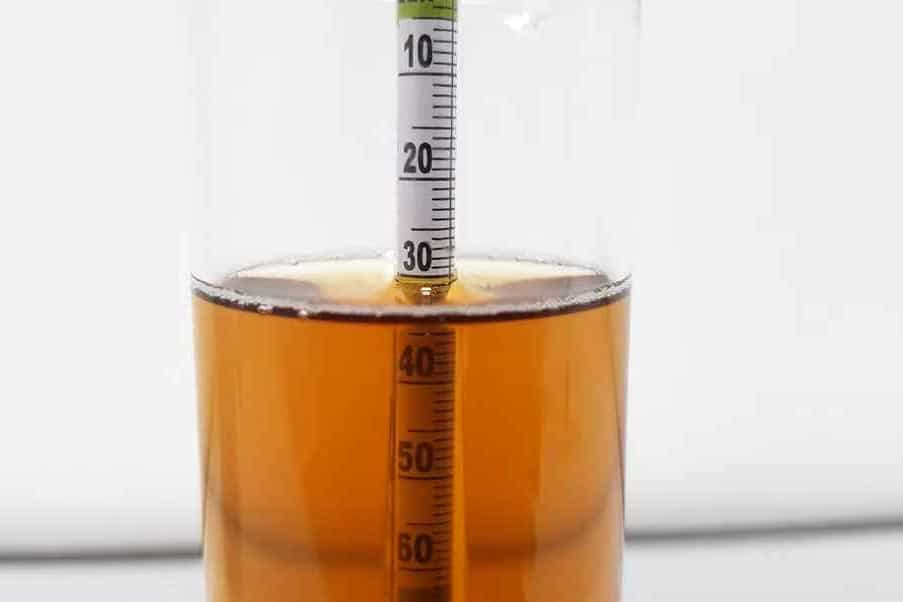
Step 6: Read the hydrometer
To measure the density of your liquid, take its reading at the lowest point possible. Some of the liquid clings to parts of the device due to capillary action.
This action creates an arc or curve along its surface, so it’s important that you take note of where the vertex lies. Once located, that is where you should take your measurement for accurate results.
Using Hydrometer with Wines and Beers
A hydrometer is essential for brewing beer, wine, or cider. Reading the number of dissolved sugars present determines if fermentation is occurring. Brewers are also informed of whether alcohol levels are increasing.
This process is a crucial step for the completion of the beverage. Through careful measurements, you can track the yeast’s transformation of sugar. You can watch and observe how successful the fermentation process is.
Measuring ABV
To find out the ABV% of your drink, start by figuring out its original and final gravity. Then take that difference and multiply it by 131.25. The resulting number or digit is the ABV.
Steps:
- The first step is to get a sample of the foundation of these beverages: wort. Then, gather about a cup of it.
- Fill your hydrometer tube until it’s almost full. Leave room for when there’s potential splash or overflow.
- Insert the hydrometer and observe as it may bob up and down. It may seem like it’s dancing on top of the liquid. Please give it a gentle spin to remove any stubborn bubbles clinging to its sides.
- With careful observation of the hydrometer’s markings, you will see a gravity reading between 1.000 and 1.160.
- Take precise note of the gravity reading, as it’s critical to brewing your beer to success. For a more reliable measurement, consult hydrometers marked with increments as small as 0.002. If you are off for a few marks, note that this is okay in this case.
- Every beer has its unique gravity reading, depending on its ingredients and the brewing process. Brewers should use their hydrometers to take precise temperature-adjusted measurements. They need to calibrate the temperatures of elements involved in their brews. This also applies to measuring sugar content in brews. You can guarantee more accurate readings by factoring in your beer’s actual temperature. Also, follow the guidance from the instructions that come with the device.
- Sanitize your equipment and every tool involved. After sanitization, you can return the beer to its original container. This step ensures that the mixture now has minimal risk of introducing bacteria.
Hydrometer Accuracy
The accuracy of a hydrometer hinges upon three key considerations. These three include cleanliness, temperature regulation, and proper submersion. With these specifications in mind, you can ensure reliable readings each time.
Cleanliness
You should acknowledge the importance of proper calibration in reading a hydrometer. The liquid must rise and create an imperceptible film on the stem. To increase accuracy, you must achieve a perfect convergence of liquid and hydrometer.
You should thoroughly clean all components, including the hydrometer jar, ensuring no residue remains. This helps guarantee a more accurate reading. Pay careful attention to the hydrometer’s surface and stem. Ensure the fluid can move freely along the surface of the hydrometer, without any obstructions or residues.
Temperature
For accurate results, match the hydrometer and liquid sample’s temperature with their environment. This helps avoid any changes in density during testing.
This is also why temperature calibration is essential when measuring using a hydrometer. Some bases are sensitive to temperature, so getting to know your liquid is essential.
Immersion
Achieving the maximum accuracy of your hydrometer readings is essential. When immersing it in a jar, ensure you have at least one inch of extra space above and around the tool. This is to make sure that unexpected discrepancies can be accounted for without skewing results.
Summary
In brewing, amidst other things, it’s essential to know how to use and read a hydrometer. Although measurements can be more lenient and do not need strict accuracy in homebrewing, some beverages do.
This is especially true in established pubs or breweries. So, it’s essential to be mindful of the factors affecting the measurement process.
As a homebrewer, Michael would get frustrated about the lack of brewing information on the internet. After hundreds of gallons of spoilt batches, Micheal had enough. And he founded Unknown Brewing as a resource for homebrewers.