After an exhausting day, having a beer can help you feel refreshed. To be more relaxing, I bet you prefer well-served. If one doesn’t know the real trick to pouring a beer, worst case, you’ll have a poor beer! But the fantastic news is there are many ways to sip and savor a beer!
Over the years, we’ve collected excellent beer practices! Worry no more because this write-up will help you understand a few simple steps to pour beer properly.
How to Pour Beers from a Tap?
The most common or universal method of pouring a beer is through a tap—the latter aims to control beer’s flow and release from the storage. Let’s discover an efficient way to pour beer from a tap.
Step 1: Opt for a clean glass
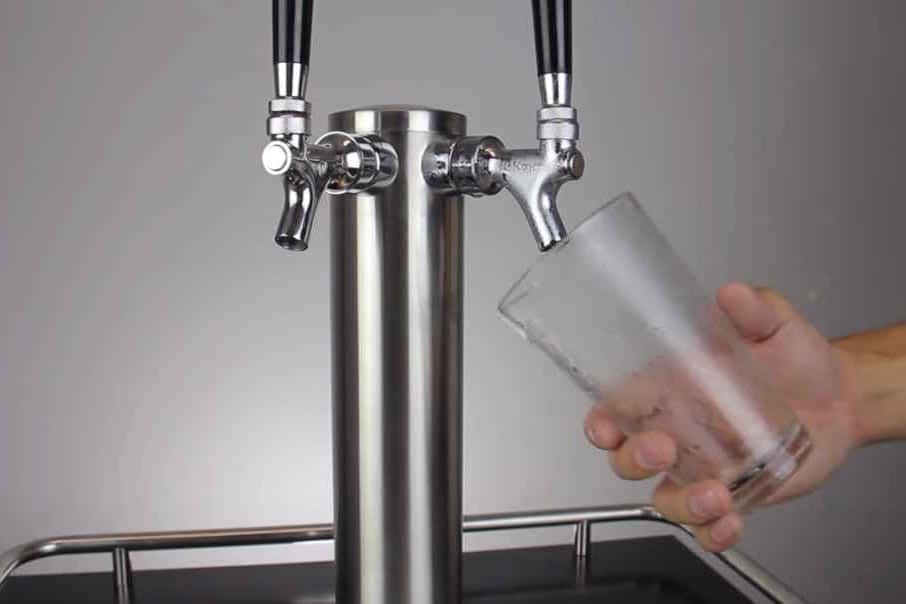
Make it a habit to inspect your glass thoroughly. You must check whether some dirt, detergent, or residue is left. Rinsing the glass with cold water would be the most viable option before pouring the beer.
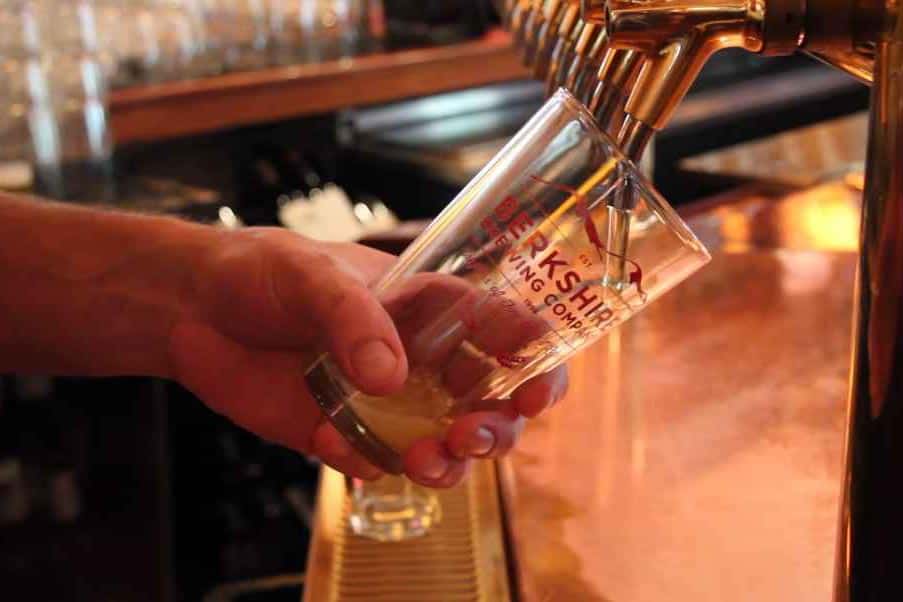
Step 2: Hold the glass at a 45-degree angle
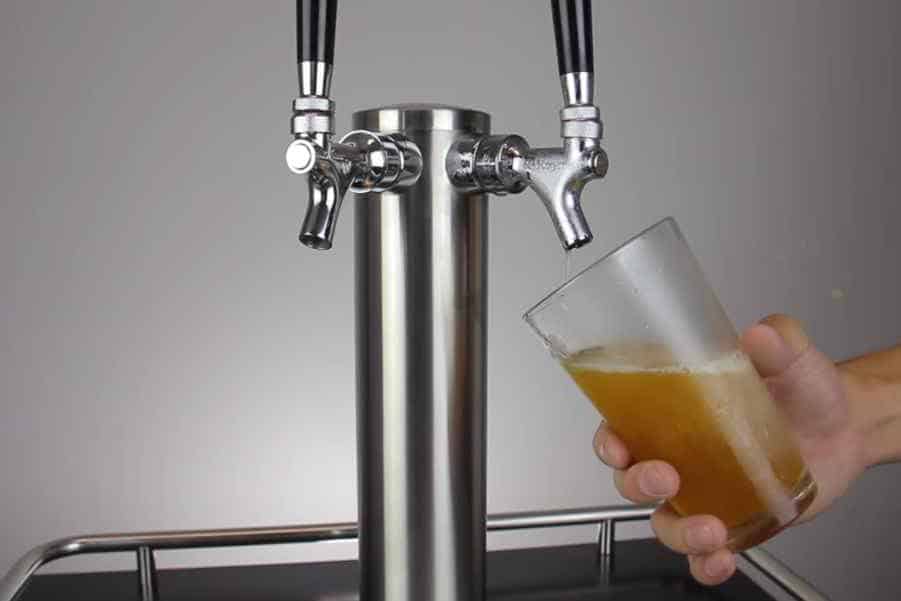
The position of the glass is crucial as it would affect the formation of the foam or “head” later on. You must also be aware that the beer should be a little bit below the faucet and not touch it. The reason is that there is a possibility for the beer to come into contact with dirt when it feels the tap.
Step 3: Fill the glass
You may slowly but surely fill the glass with beer by this time. Start with filling the side of the glass as it is in a 45-degree position. Do not rush.
Be mindful that you should not aggressively pour the beer as it might spill and overflow. Then, continue this process of pouring until the beer is already half-full.
Step 4: Craft the head
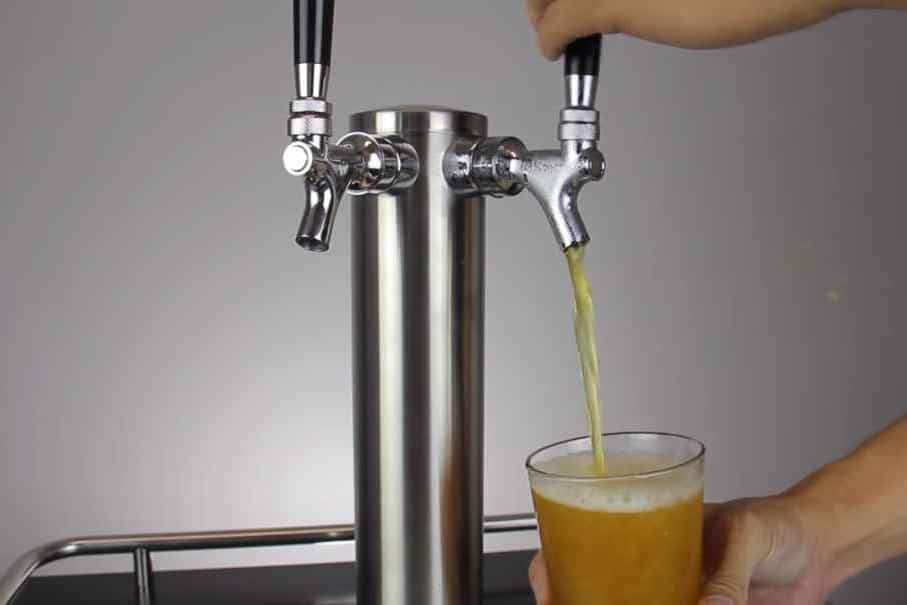
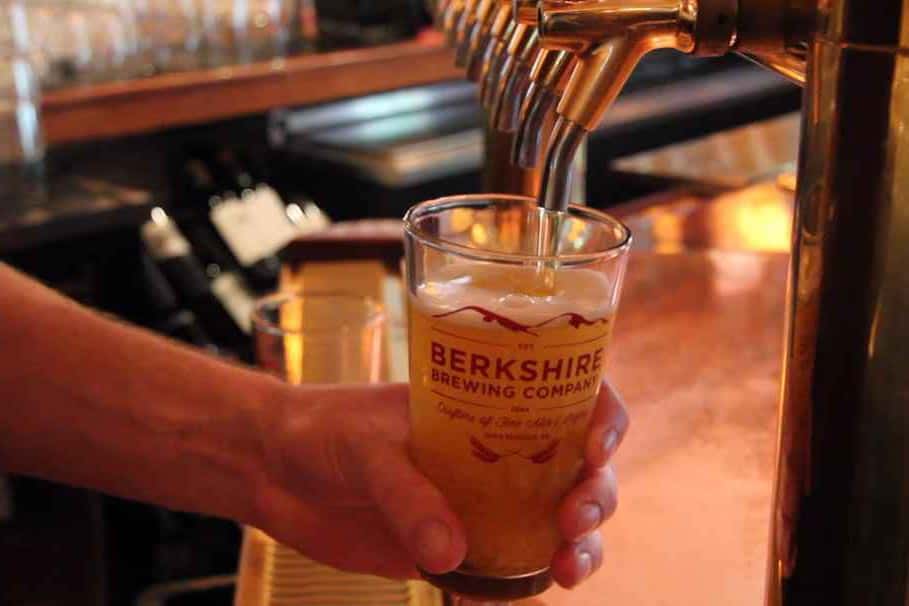
After tilting the glass to a 45-degree position, you may leave room for the foam. You can do this by handling the glass in a straight place. You can swiftly and quickly fill the glass again until it’s complete.
You will notice that carbon dioxide is released in this process, leaving a white, foamy, and aromatic layer on top of the drink. Let it settle for a while.
Then, this is the final moment you have been waiting for when you can now enjoy the beer. You’ll be pleased with how well and well-served it looks as it progresses. So, go and taste your drink!
You can follow a quick tutorial on pouring beer properly from a tap here.
How to Pour Draft Beer?
Before delving into the steps to pour draft beer, let’s learn what it is first. Draft or draught beer is a type of beer stored in kegs. A keg is a small barrel that keeps beer and other alcoholic and non-alcoholic beverages.
Some of the main distinguishing factors of draft beer are that it prevents degradation caused by sunlight exposure since it is stored in Kegs. It also stays fresh for a longer time while consumed faster. Now, we proceed with the simple steps of how to pour draft beer.
Step 1: Choose a clean and cold glass
One must ensure that the glass is perfectly ready for a drink. Be mindful that the glass should be merely cold and not frozen. The temperature of the glass also affects the overall taste of the beer.
Step 2: Get a handle on it
The steps in pouring from a tap and pouring a draft beer are almost identical. It just depends on how you execute it. For draft beer, pull the handle quickly while you let the beer slide into the glass.
Step 3: Position the glass at a 45-degree angle
Noticeably, there seems to be a pattern following the process of pouring almost all beer. The glass needs to be positioned at a 45-degree angle. The reason is that pouring the glass in a straight position could overflow the beer.
Step 4: Pour the beer
The next step is to pour the beer hall-full while in the 45-degree position. Then, straighten it up for a faster pour.
This process is to have some room for the foam or head. While pouring, note that the faucet must not touch your beer as it could contain bacteria you don’t want to spread in your drink.
How to Pour a Beer Without Foam?
Do you prefer a glass of beer with no foam rather than the common ones with 1 to 1 & 1/2 inches of layer? The excellent news is you can do it yourself! You can pour beer into your glass without foam or with a minimal amount.
It would be best if you remember some essential things to achieve your preference. It can be challenging, though, since all beers have bubbles, but you can do it your way.
Step 1: Use a clean glass
Choosing a clean glass is the easiest but crucial step in beer pouring. One wrong move by selecting a dirty one can adversely impact the taste of the beer as well as might cause harm to you. Also, choose a glass according to your preference: a warm drink causes bitter beer, while too cold glass can cause the beer to be bland.
Step 2: Hold the glass at the 45-degree angle
As you tilt the glass, let it flow in the 45-degree position. Pouring the straight beer wards releases carbon dioxide from the beer, forming bubbles and eventually rising to the glassware’s top and becoming a layer.
Just a bonus idea. The 45-degree angle is the standard pour for beers. This position will ensure you have the maximum amount of heat in the beer. On top of everything, this is one of the basic skills one must learn in bartending 101.
Step 3: Pour the glass.
Since you mainly prefer a beer with no foam or with little foam, you need to be extra careful. You must pour slowly and watch ’til the bubbles form on top of the glassware. The goal is to produce as little amount as possible.
Step 4: Let it rest for a while
The simplest but effective way to reduce foam or layer is to let the beer rest for a while. We already knew that all beers have bubbles, but proper pouring techniques will minimize or eliminate the foam formed.
How to Pour Beers from a Can or Bottle?
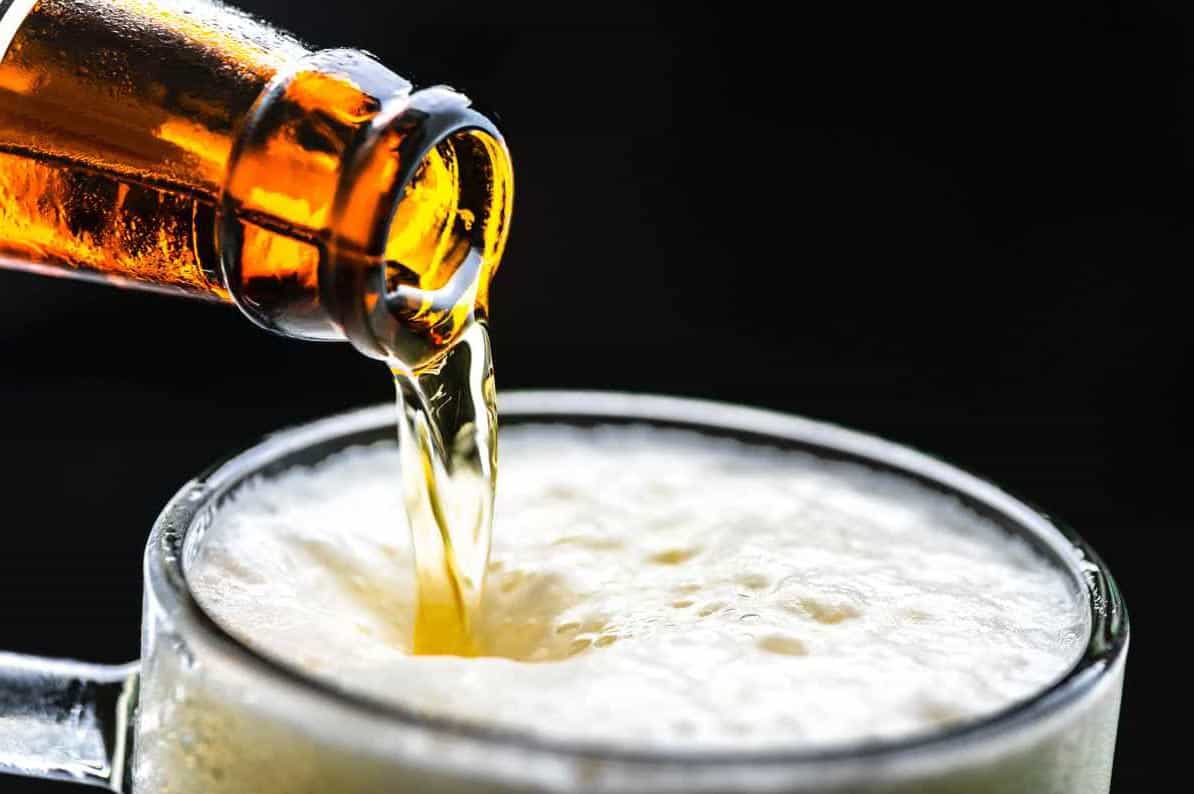
When pouring a beer from a can or bottle, it is not mandatory for you to be a bartender to achieve the ideal pour. You only need to learn why and how pouring the beer into the glass may hugely affect the carbonation and, somehow, the taste of the beer, so you better be careful.
Step 1: Select a clean glass
Let’s say you select a glass with some leftover detergent. Do you think the beer tastes the same? No. We need not discuss the importance of selecting clean glass since we mentioned it above.
Other than the cleanliness of the glass, you may want to choose a particular type too. After selecting your ideal glass, please give it a quick rinse with cold water, and you are ready for the next steps.
Step 2: Choose your beer
Of course, before pouring it, you must first choose a beer because there are plenty of available cans and bottled beers on the market. Thus, it is significant that you know what it is that you like since there are several beer flavors that you could choose from. After choosing, you can proceed to the following steps.
Step 3: Hold the glass at a 45-degree angle
Again and again, we need to hold the glass in the proper position to achieve the ideal “perfect pour” of beer. Continue holding the glass in the said position until it’s half full.
Remember to refrain from shaking the bottle or can before pouring. Otherwise, expect that it would spill all over.
Step 4: Pour the beer into the glass
The last and final step is to slowly and carefully pour the beer while the glass is in the 45-degree position. You can take your time. As soon as the beer reaches half full, you may change the position of the glass into a straight form.
This way, the ideal 1 to 1 & 1/2 inches of foam is achievable.
Get to know more tips on pouring a beer, and watch this YouTube video.
The Bottom Line
No matter the beer you have in your hand, there’s always the best way possible to indulge in beer. One doesn’t have to be a beer expert, certified beer server, or bartender to pour a fantastic beer.
If you pour beer correctly, you’ll optimize the texture, taste, and look. On the other hand, an improperly poured beer will end up with an unenjoyable taste, too much foam, or no foam. So, the next time you have beers, pour it the expert way with our guaranteed tips and tricks!

As a homebrewer, Michael would get frustrated about the lack of brewing information on the internet. After hundreds of gallons of spoilt batches, Micheal had enough. And he founded Unknown Brewing as a resource for homebrewers.
