Do you love brewing beer at home but sometimes have difficulty having the best yeast to do the job? Well, you can make your own yeast starter and have your yeast perform the way you want it during the fermentation process. So, here’s a guide for you on how to make a beer yeast starter at home.
What is a Yeast Starter?
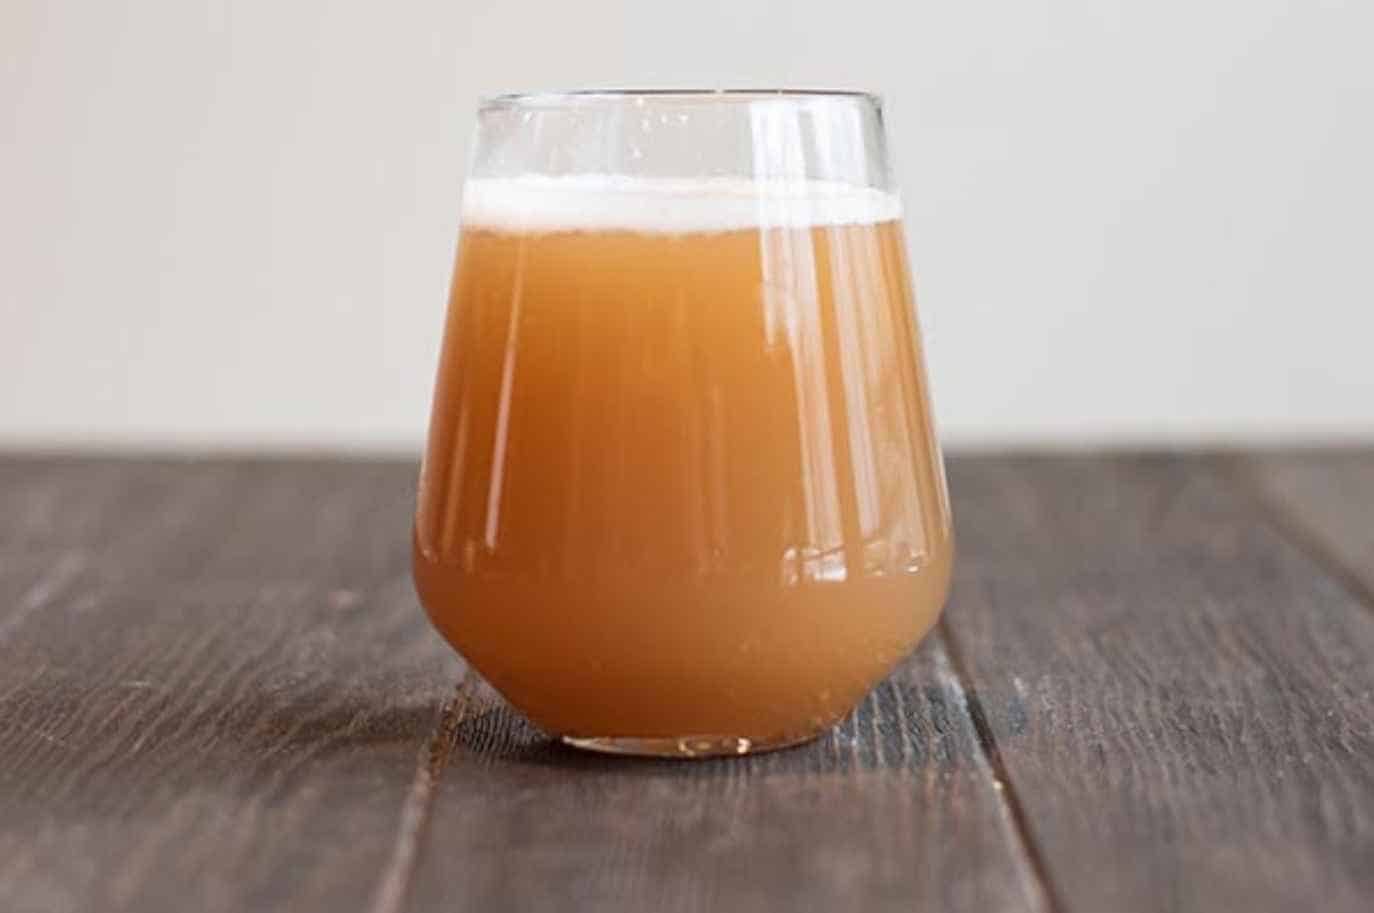
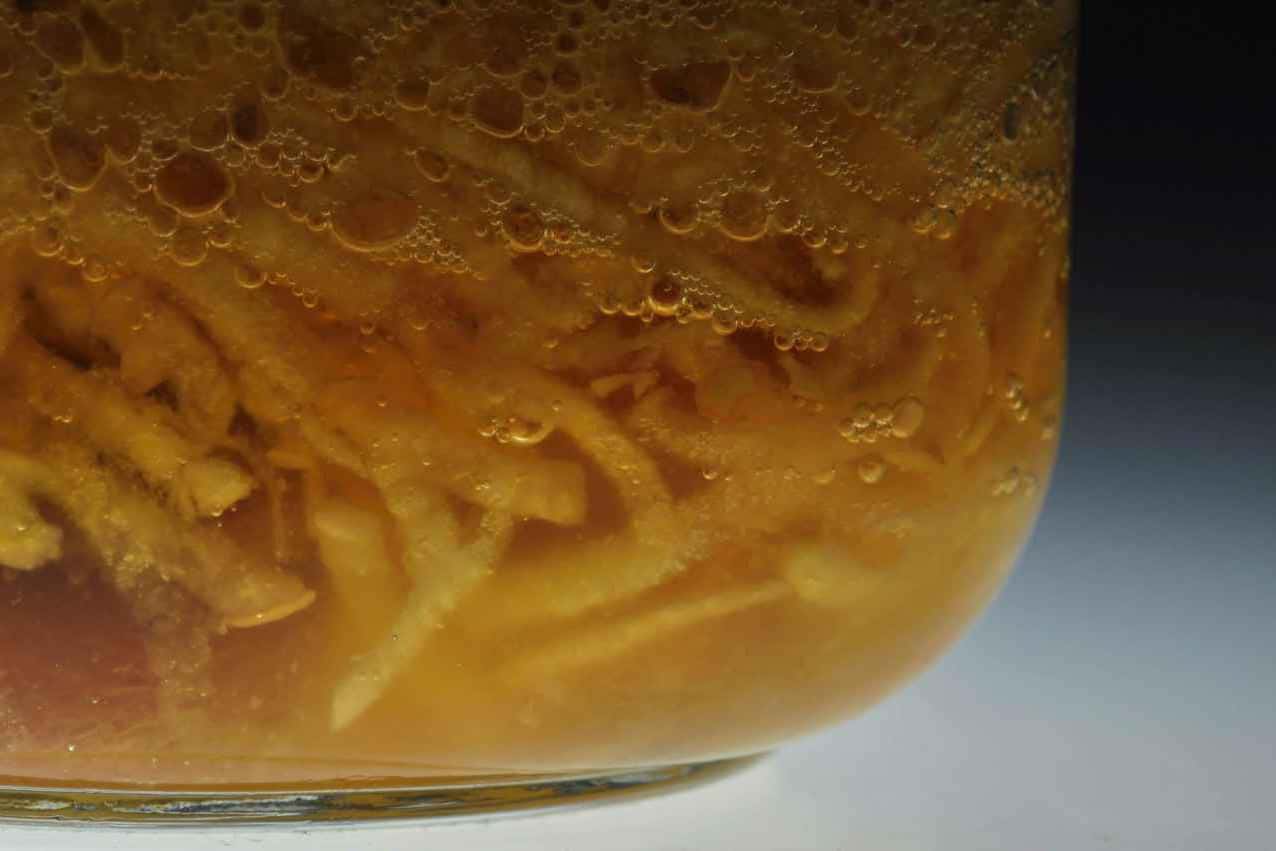
A yeast starter is a medium in which yeast can grow and multiply. It looks like a small beer, but you shouldn’t drink it. Instead, you should mix it with your brew before fermentation so you can have a ready-to-consume beer.
Why is it great to make your Yeast Starter?
Making your yeast starter has a lot of benefits; that’s why many homebrewers make their own when brewing beer. Below are the of the best reasons.
1. Saves money
Having your yeast starter at home is an economical choice. Why? Because a yeast starter activates your yeast and works effectively during the fermentation process of your wort. This means that you won’t need extra yeasts if your first try ruins your wort because it doesn’t perform how you want it to.
2. Healthy yeast
If you plan on leaving the yeast out for an extended period, you should check that it has not lost its ability to reproduce cells.
So to make sure you still have effective yeast, putting it in a yeast starter is great. And isn’t it better to waste a liter of yeast starter than gallons of beer? Since you’ll be adding the yeast to the wort to turn the sugars into alcohol, you’ll be at a total loss if the yeast you added is dead.
3. Good environment
A yeast starter is a great environment for yeast to reproduce healthy cells. This allows your yeast to multiply and have the best yeast for your beer. And if you put yeast on a yeast starter, you’ll have a faster fermentation, and your beer will taste even better.
Why is a Yeast Starter important when brewing beer?
The likelihood of developing stressed yeast increases in proportion to the decrease in the number of yeast cells accessible for fermentation. A situation in which too few cells are given to excessive labor will result in stressed yeast, just as it will with living creatures. Your brew will develop, but the end product won’t be as good as it could have been.
On the other hand, a higher cell count results in a more successful fermentation. Attenuation, often known as the effectiveness with which yeast ferments the glucose in your brew, can be increased using yeast starters.
How Does A Yeast Starter Work?
Yeast undergoes two steps of respiration before it can begin converting glucose to alcohol. They strengthen their cellular structure during this period to ensure a long and healthy life.
When the yeast consumes all the air in the brew, its cells signal them to begin consuming sugars instead. This is the stage at which brewers prefer to pitch yeast into the brew to provide the shortest possible fermentation period.
And with this, the yeast starter does two things.
- Increases cell count: Your yeast reproduces multiple healthy cells that help ferment your wort faster.
- Activates the yeast: Your yeast has been sitting for ages which means it can be dead or dormant, so putting it in a yeast starter will wake it up.
Depending on the gravity of your beer and the batch you plan to brew, you’ll have to decide on the amount of yeast starter you need. Let’s say you are making a beer with a starting gravity of 1.010, a pack of yeast is already enough to ferment your beer. And for the yeast starter, a liter will suffice.
Terms you need to know before making a Yeast Starter
Pitching
Adding yeast into your wort during the fermentation process is basically what pitching is. However, it is not that simple, as you need to make sure you add not too low or not too small an amount of yeast. And you need to be gentle to avoid stress on your yeast, which activates well.
Gravity
Gravity in beer is an essential part of the brewing process. Knowing this will help you understand the amount of sugar present in the fermentation process, thus letting you know the alcohol content of your beer. Thus, measuring your gravity should be done accurately to give you precise data.
Wort
When brewing a beer, you first mash the grains with hot water, right? This then extracts the grains’ starch, turns them into sugar, and gets them in the water. Now, the liquid you extracted containing the sugar is what we call wort.
What You Need for Making Yeast Starter
You don’t need that much equipment when making a yeast starter. Generally, you only need the following:
- Erlenmeyer flask
- Dry Malt Extract (DME)
- Stir Plate and Magnetic Stir Bar
- Digital weighing scale
- Thermometer
Of course, you can always have alternatives to make your work easier and more economical. Like the Erlenmeyer flask, if you don’t have the budget, you can use a jar instead that can still do the same work for you. Or a sauce fan to boil the wort and glass to cool it down. In any case, it is up to you to make your yeast starter simpler.
Steps to Make a Yeast Starter

Making a yeast starter is easy if you follow the instructions carefully. And make sure you have all the right equipment to proceed with the process. Here are the steps to make the easiest yet most effective yeast starter for your beer.
Note: For your reference, these measurements for the yeast starter are good for making a 10-gallon beer.
1. Put water into your Erlenmeyer flask
Get your Erlenmeyer flask and put about four liters of clean, drinkable water. This liquid is enough for a pound of dry malt extract that you will be putting in.
2. Measure the DME
Using a digital weighing scale, measure the DME you need to use. If you are unsure how much DME you need for your yeast starter, know that a 100-grams DME is enough for a liter of water.
3. Add the DME
Carefully add a pound of DME into your water and swirl the flask. Keep swirling until all the compounds are well-dissolved in the water.
4. Boil the liquid over medium heat
Once your water and DME are well-mixed, put the flask over medium heat. As you heat the wort, you’ll see clumps settling down on the bottom, so you must swirl the flask repeatedly. Ensure you use gloves or pot holders when swirling, as the flask is hot and can burn your skin.
When your wort starts boiling, put in a timer of 10 minutes before killing the fire off. And during those minutes, you must be attentive as too much heat can cause your wort to boil over, which will cause a mess.
5. Chill your flask once the boiling is over
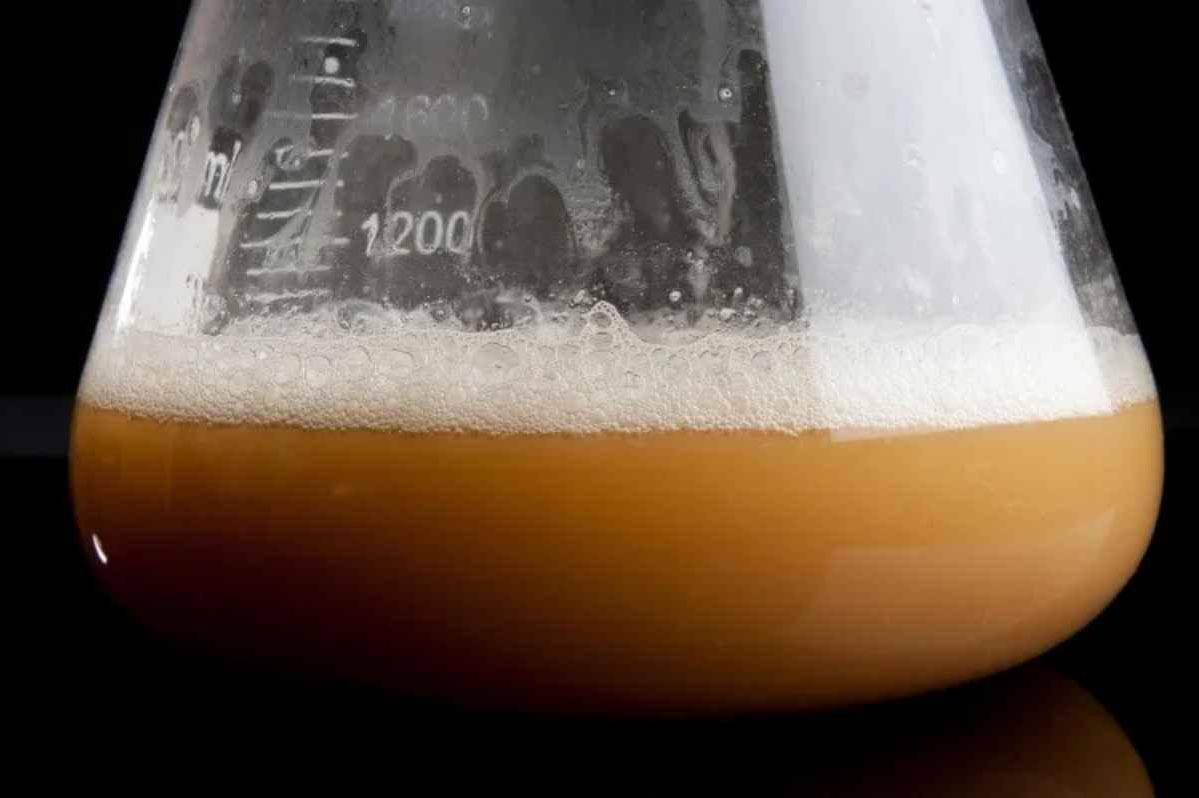
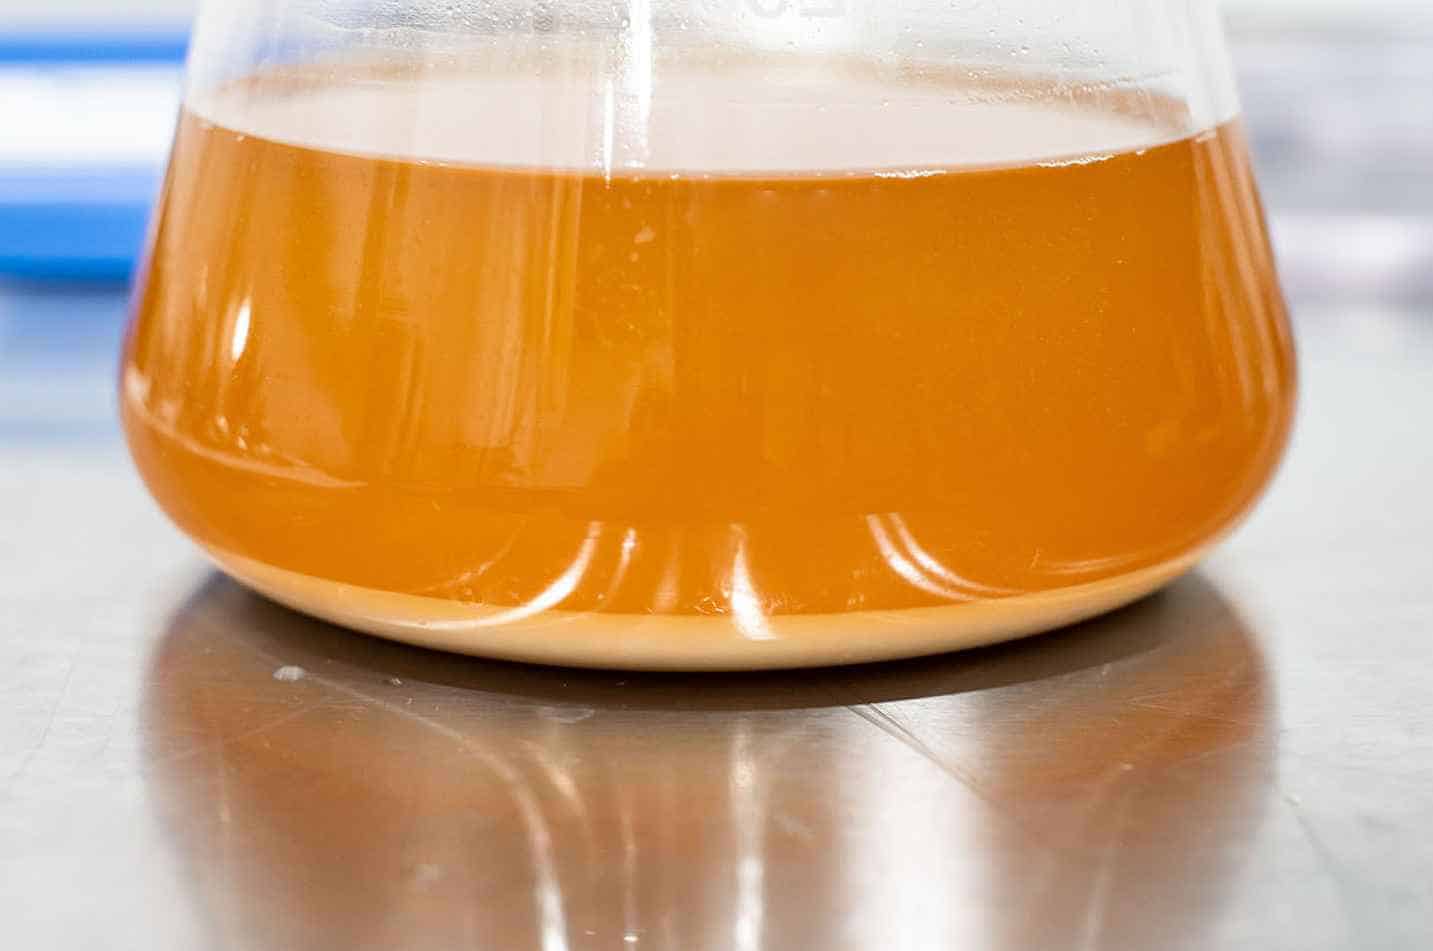
Once the timer goes off, cover the head of the flask with aluminum foil to let the steam sanitize the whole flask and yeast starter. Then, carefully take your flask into an ice bath to allow it to chill. Have the yeast starter completely cooled down, just enough temperature for the fermentation.
The finished wort is the yeast starter, and it is now ready to condition your yeast for fermentation.
How to condition the yeast using the yeast starter?
1. Reactivate your yeast
Typically, you’ll have yeast ready before you start brewing; it can be days or weeks before you use your yeast. As a result, you’ll have a dormant yeast which means it is temporarily inactive, so you need to reactivate it first.
Depending on your yeast type, you can easily activate it by shaking it or smacking the pack like you do when you use Wyeast Activator Smack Pack.
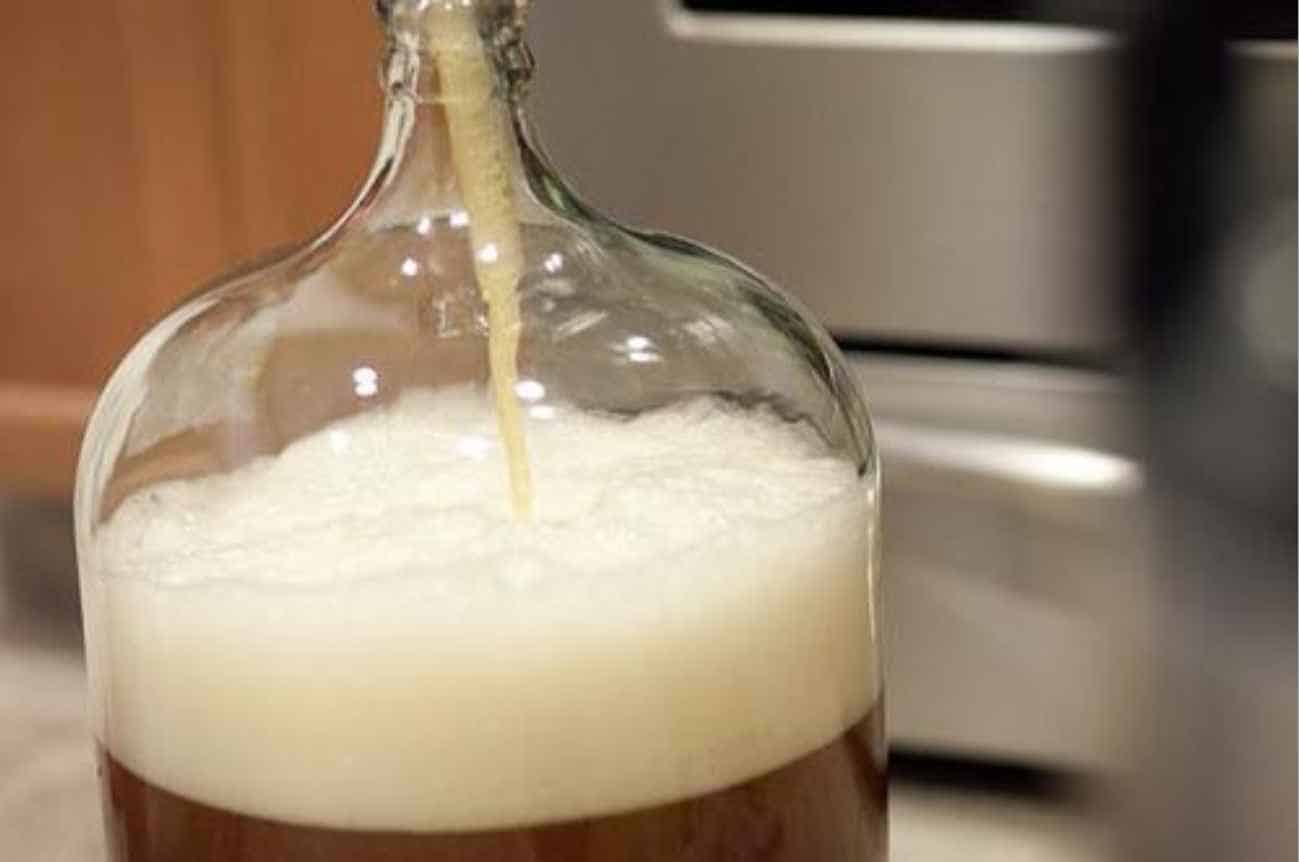
2. Add the yeast to the yeast starter
Once you’re done reactivating your yeast, carefully pour it inside the flask to mix with your yeast wort. When doing this, you need to sanitize the yeast pack, the foil you use for covering the flask, and scissors if you use them to open the yeast pack. Sanitizing will make sure that no bacteria will contaminate your wort.
3. Put the wort over the stir plate
Before placing the flask over the stir plate, put the stir bar inside the flask first, as this will serve as a spinning device that will help aerate your wort with oxygen. Ideally, you should stir your wort for about 24 hours to have the yeast completely reproduce healthy cells. Just leave your stir plate working until the 24-hour time is done.
4. Place your wort in the refrigerator
Once your yeast has multiplied to the target cells you want, let the flask sit in the refrigerator for another 24 hours. This will let all the yeast sit at the bottom of your wort, leaving only the wort on top.
5. Pour the wort
After the yeast has completely settled down at the bottom of the flask, pour the wort, as you will not need this anymore. Leaving the wort and mixing it with your beer will give your drink a weird taste. But leave a bit of liquid with the yeast, just enough to make a slurry of yeast so you can easily take the yeast from the flask.
This yeast is the finished product you will use when fermenting your wort when brewing a beer. Expect healthy yeast and a fast fermentation process because your yeast is well-activated.
Conclusion
Now that you know how to make a beer yeast starter, it’s time to gather the necessary equipment. Follow the instructions carefully to have the best yeast starter and a well-fermented, great-tasting beer.
As a homebrewer, Michael would get frustrated about the lack of brewing information on the internet. After hundreds of gallons of spoilt batches, Micheal had enough. And he founded Unknown Brewing as a resource for homebrewers.