
For beer lovers, lagers belong to the premium class of beers because of their clean, delicate, and balanced flavors. Looking at the sales volume, one can see that lagers are the most popular beer style. However, world-class lager beers are a rare gem in the United States.
That’s why many craft and homebrewers tap into their resources and cultivate a worthwhile hobby. That is, to successfully pull off and brew an excellent lager beer at home! This blog has collected nine guaranteed homebrewing tips on lager a beer like a pro. So, let’s get moving!
1. Wait for the Right Time
Traditionally, the word ‘lager’ comes from German, meaning “to store.” Historically, the first lager beer styles are the by-product of long-term storage found in the caves beneath the ground. While you might find the usual ale beer to be processed, brewed, bottled, and consumed for at least two to three weeks, it might take months before you can have a lager beer.
A lager fermentation process indeed shares similarities with ale fermentation. But the period is significantly longer due to the temperature involved. So, if you want to successfully lager a beer, you must be willing to wait for the right time. Let the fermentation phase and conditioning process take their course.
If one wants to shortcut the process, chances are you’ll have a flawed finished beer product that comes with off-flavors. So, if you feel unsure, it’s always better to wait a few days before finally racking and bottling your lager beer.
2. Find the Proper Temperature
Master brewers said all yeast strains have a specific temperature range to achieve the best fermentation result. When lagering a beer, one can allow the temperature to go lower from thirty-eight degrees Fahrenheit to higher as sixty degrees Fahrenheit. But, of course, this range depends on the actual yeast strain.
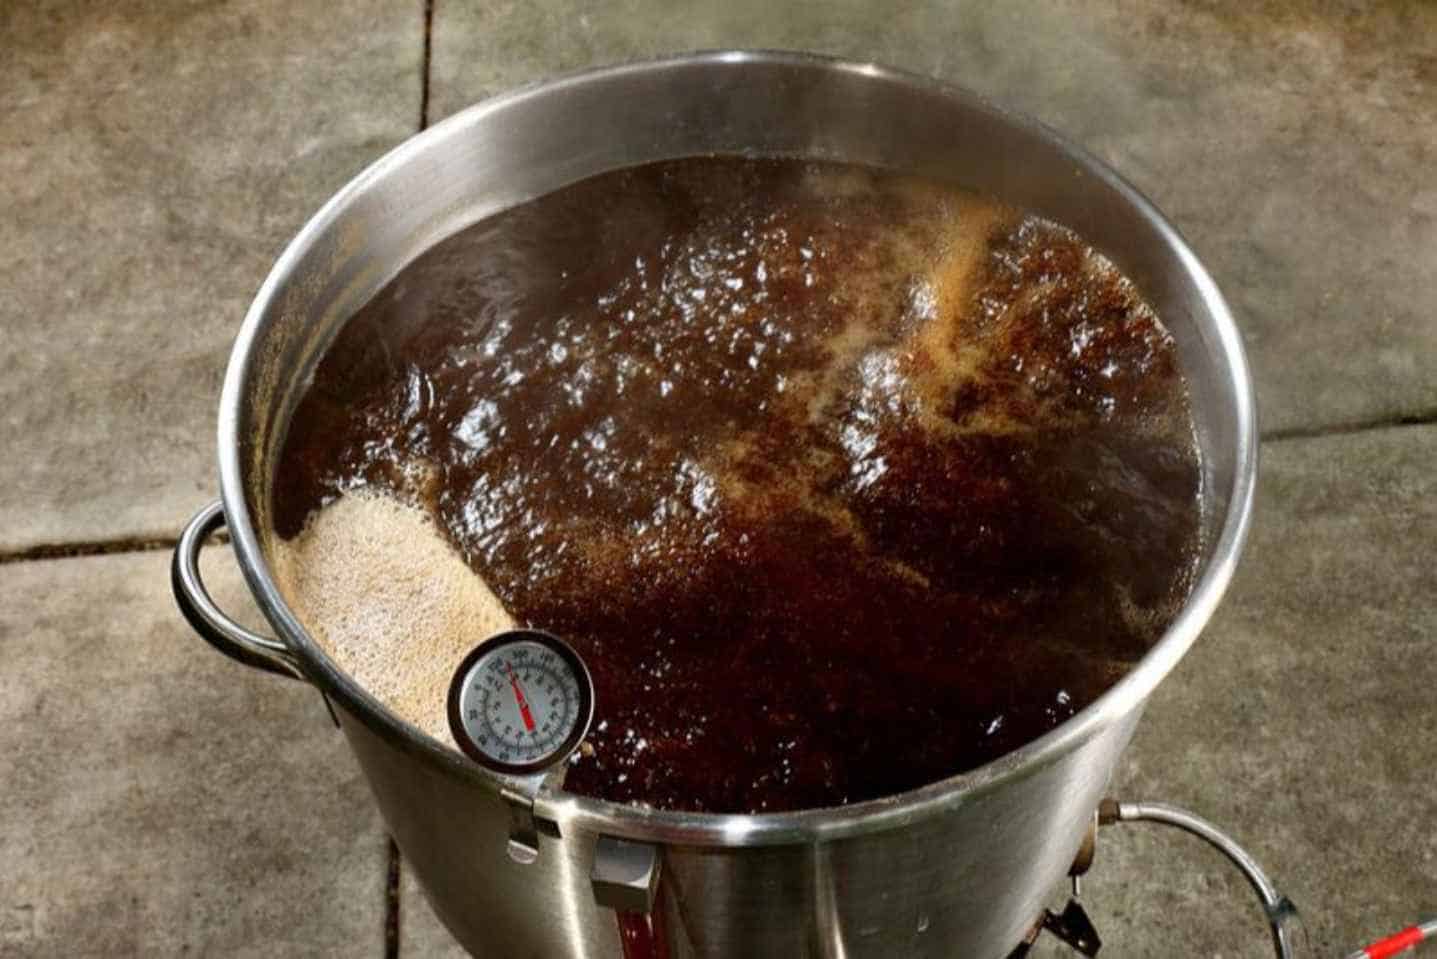
And for this part, we would like to emphasize that it’s best to use a thermometer or stick-on-type thermometer to monitor the temperature. Having this in hand can make your life much easier.
For a pro-tip, to best lager the beer, it’s better to drop the temperature from two to four degrees Fahrenheit daily. Do this process until your beer reaches thirty-one degrees Fahrenheit.
Opt to aim for a temperature close to this standard. Let the beer lager at this temperature degree for four to twelve weeks. Simply speaking, the longer, the better!
In addition, everything would be far better if you had your fermenters in your home’s colder areas. For instance, a garage or a basement will do. But suppose your residence area is in a hot or tropical area. In that case, you might want to reserve lagering a beer during the winter season.
3. Choose an Authentic Lager-Type of Yeast
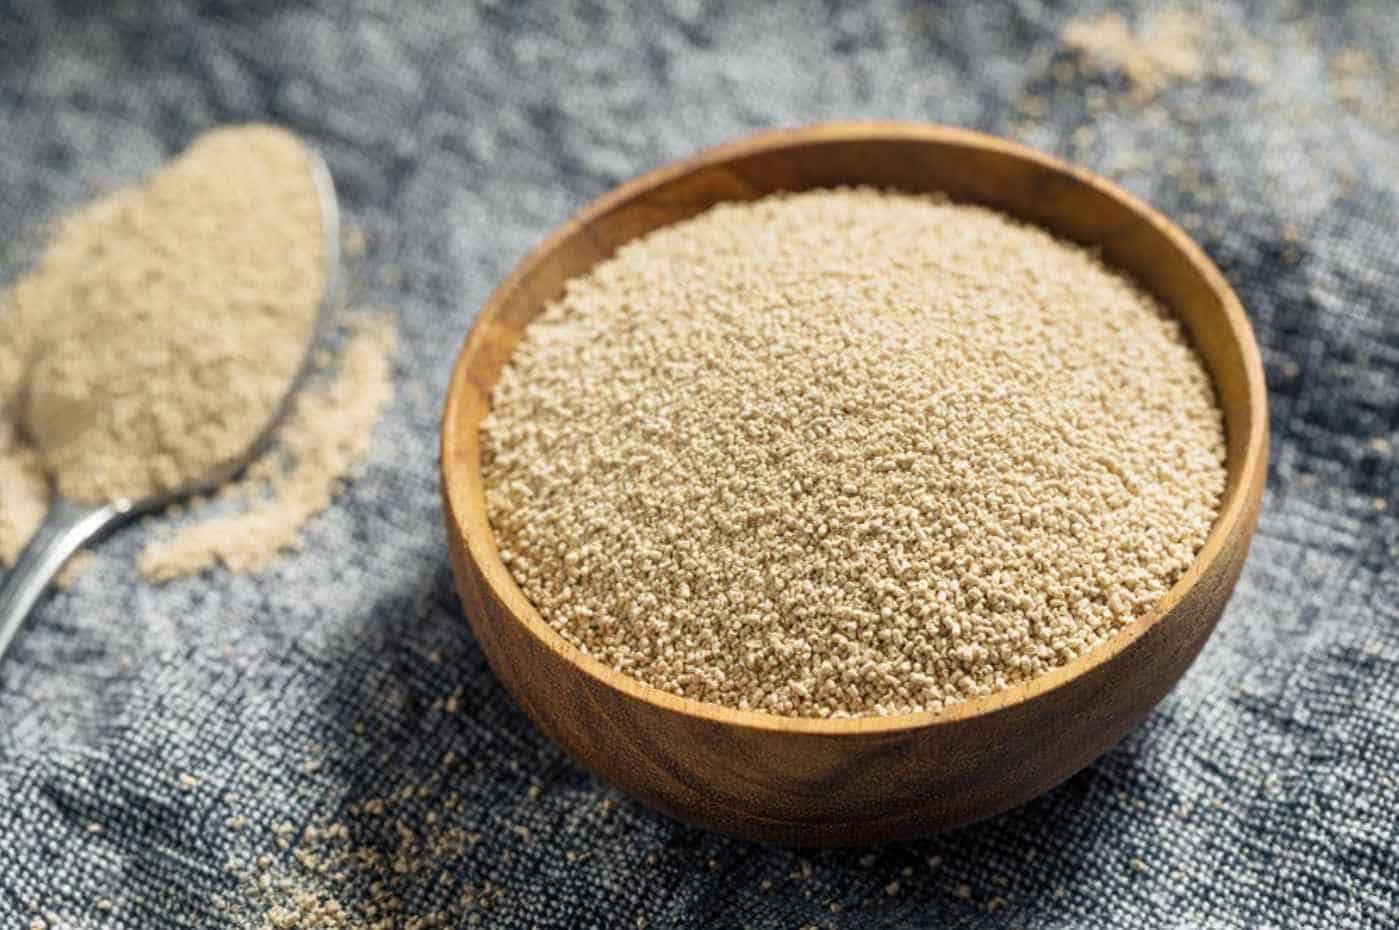
In our modern day, different yeast strains are available for homebrewing process. But suppose it’s your ultimate desire to brew an authentic lager. In that case, two excellent options are available: a culture or liquid yeast strain.
Despite their higher price, yeast strains are worth the cost than dry yeast strains. The resulting lager beer would have the best and most consistent results. On top of everything, you can expect that the liquid cultures are premium in performance and purity.
4. Don’t Skip the Yeast Starter
Our fourth tip is usually helpful when a homebrewer uses liquid yeast. Nonetheless, it’s essential to have a yeast starter if it’s your heart’s goal to brew an authentic lager. Facts say that the yeast’s metabolism, specifically a lager yeast, takes a slower phase when the temperature drops.
At this critical phase of homebrewing, the yeast cells reproduce to give sufficient cells for the fermentation process. When there’s a lower temperature, chances are there would be a delay in the growth of yeast cells.
To solve this problem, you can pitch a significant amount of yeast in advance. Want some ideas? Pitch a yeast two or three times greater than needed for ale fermentation. Do this process a few days before you start brewing a lager beer.
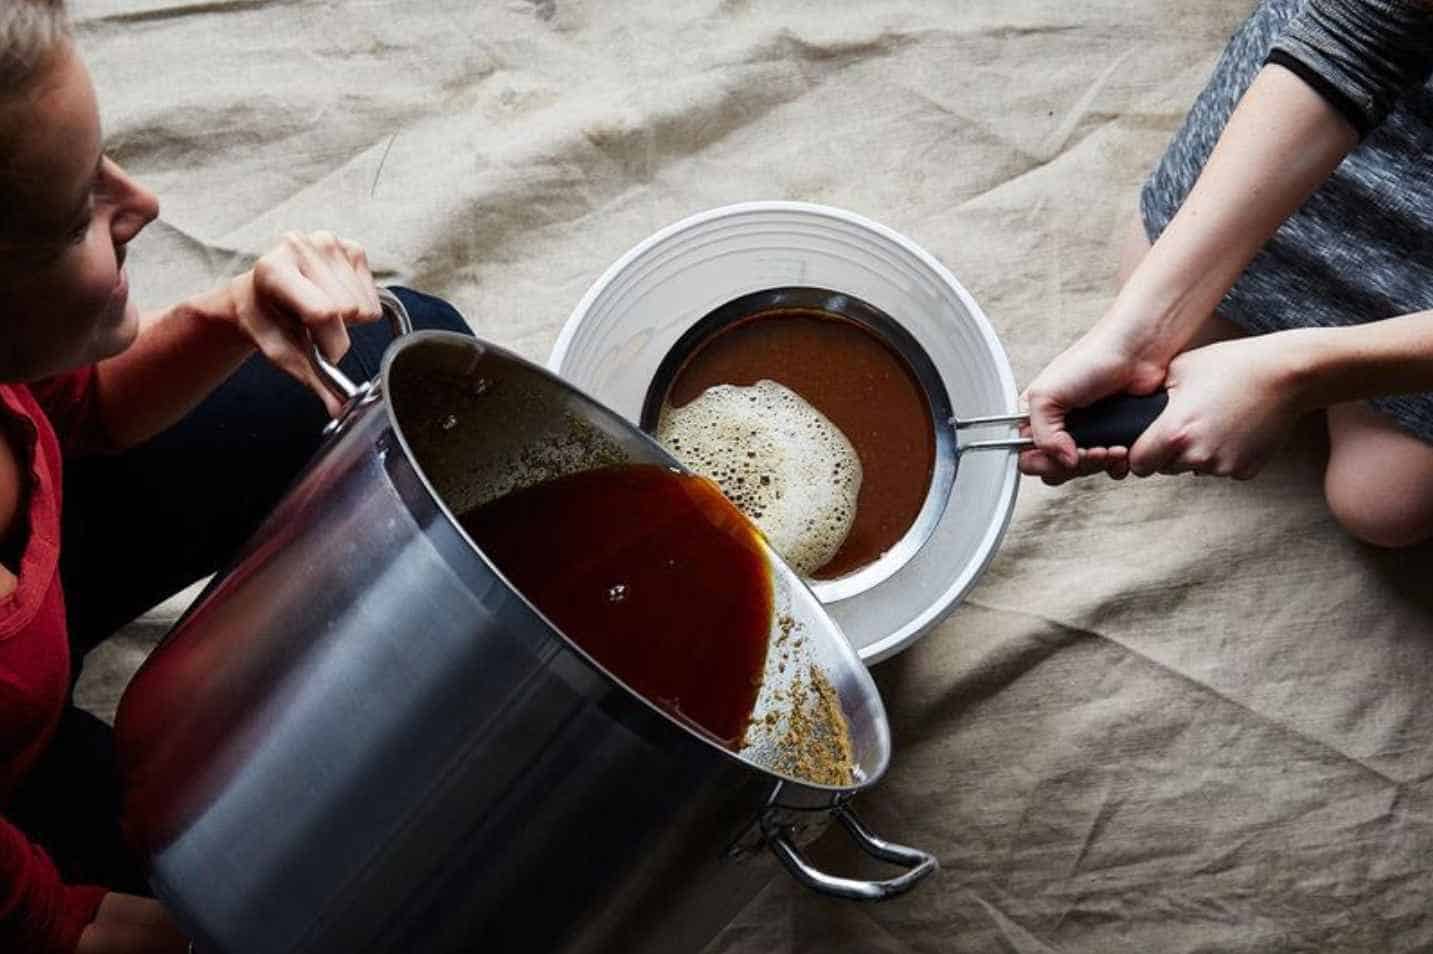
5. Utilize a Wort Chiller
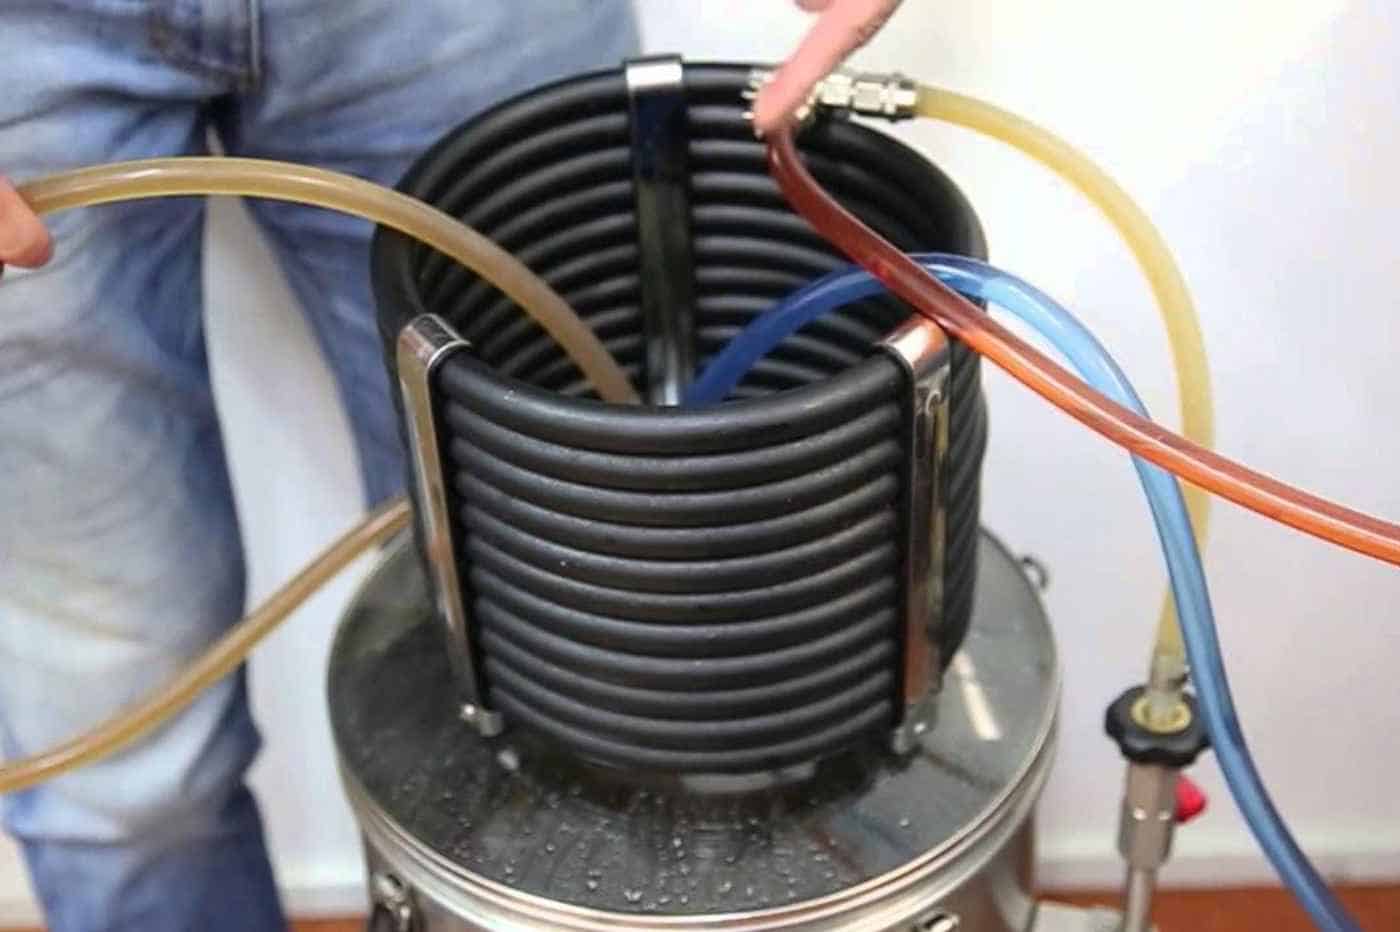
Here comes the tricky part of lagering a beer. When one cannot achieve the proper wort temperature near the fermentation temperature, the resulting brew showcases an ale-like character. But using a wort chiller can prevent these highly expected difficulties.
6. Go for the Two-Stage Fermentation Method
The primary or cool fermentation should occur at the best-recommended temperature: fifty to fifty-five degrees Fahrenheit. But again, the temperature might vary as low as forty-five degrees Fahrenheit based on the yeast strain.
When cooled, it’s best to keep this temperature consistently. Ensure that the temperature range does not rise to the standard degree while the first fermentation stage is underway.
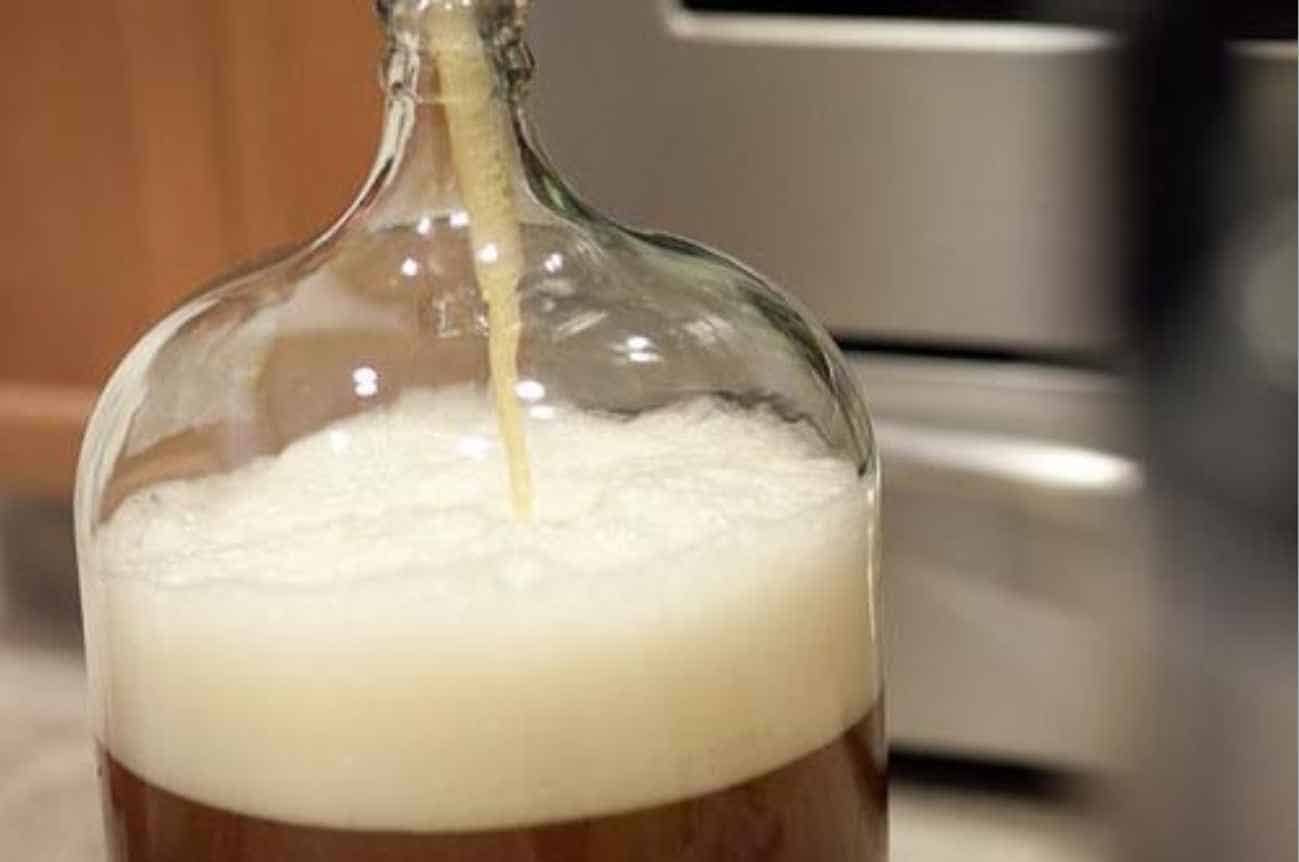
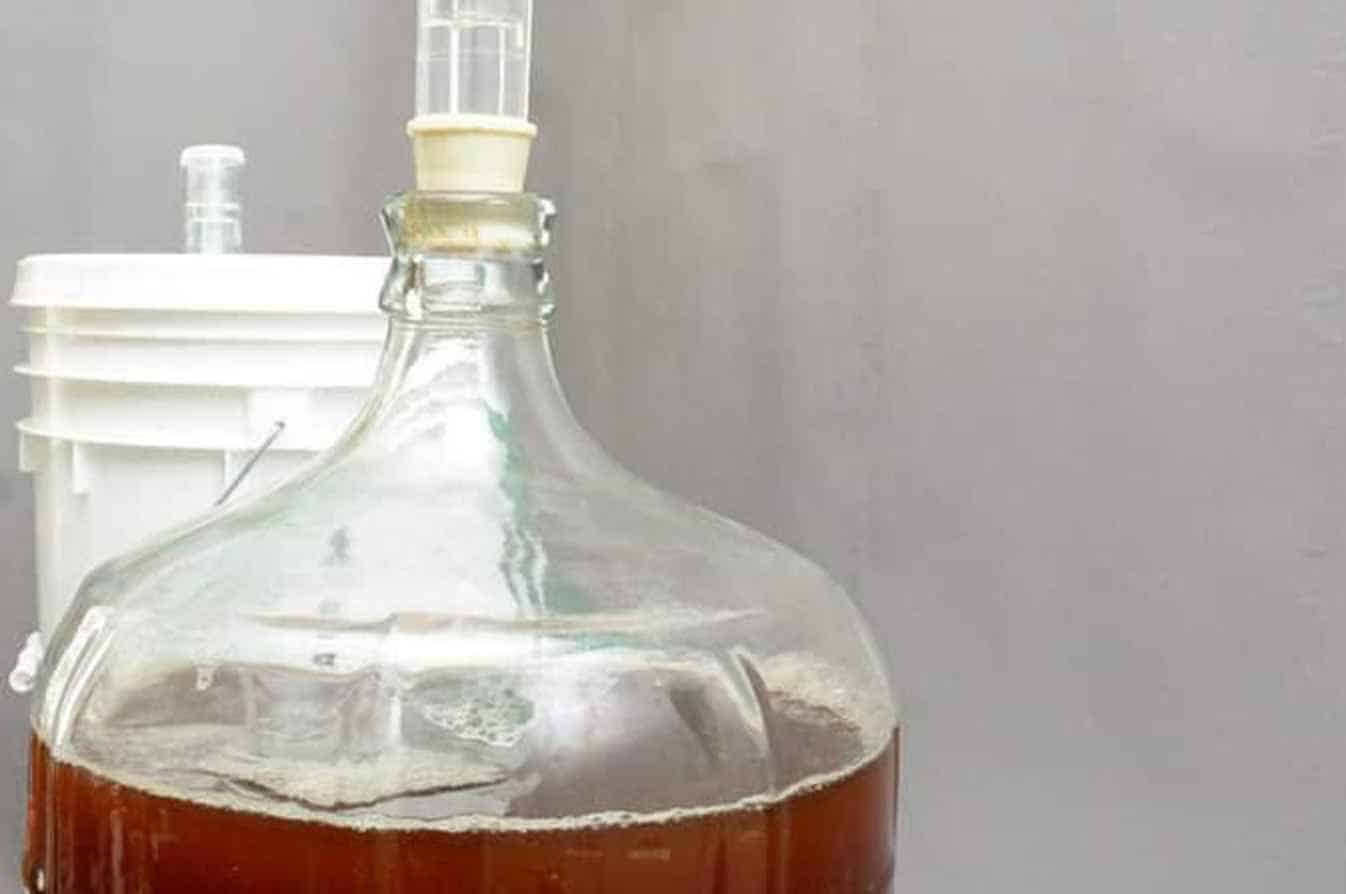
After quite some time, the actual beer lagering will now take place. This second method usually involves cold storage that fully conditions and clarifies the lager beer. Place your lager beer into a carboy. Cool it down slowly to about five degrees every day, down to the lowest possible temperature.
At this time, it’s best to look more closely at the temperature, making sure the lager beer batch won’t freeze. But of course, the colder and the longer the lager beer can get, the more beneficial it would be.
7. Have Diacetyl Rest
Brewers said that there’s a natural, resulting product of yeast fermentation. Experts call it the diacetyl compound. This element can make the finished lager beer exhibit a taste of butterscotch candy or butter flavor. While these contents are typical, sweet, and delightful, people find them an overall flaw in larger beers.
Many brewers use a temporary warming phase called the “diacetyl rest” to solve this dilemma. This process will ensure that the first or primary fermentation process is complete.
On top of everything, it can remove the excess compound mentioned earlier and set aside unwanted flavors. For an excellent diacetyl rest, preserve the beers to around sixty-two degrees Fahrenheit for two to three days.
8. Pick Other Ingredients
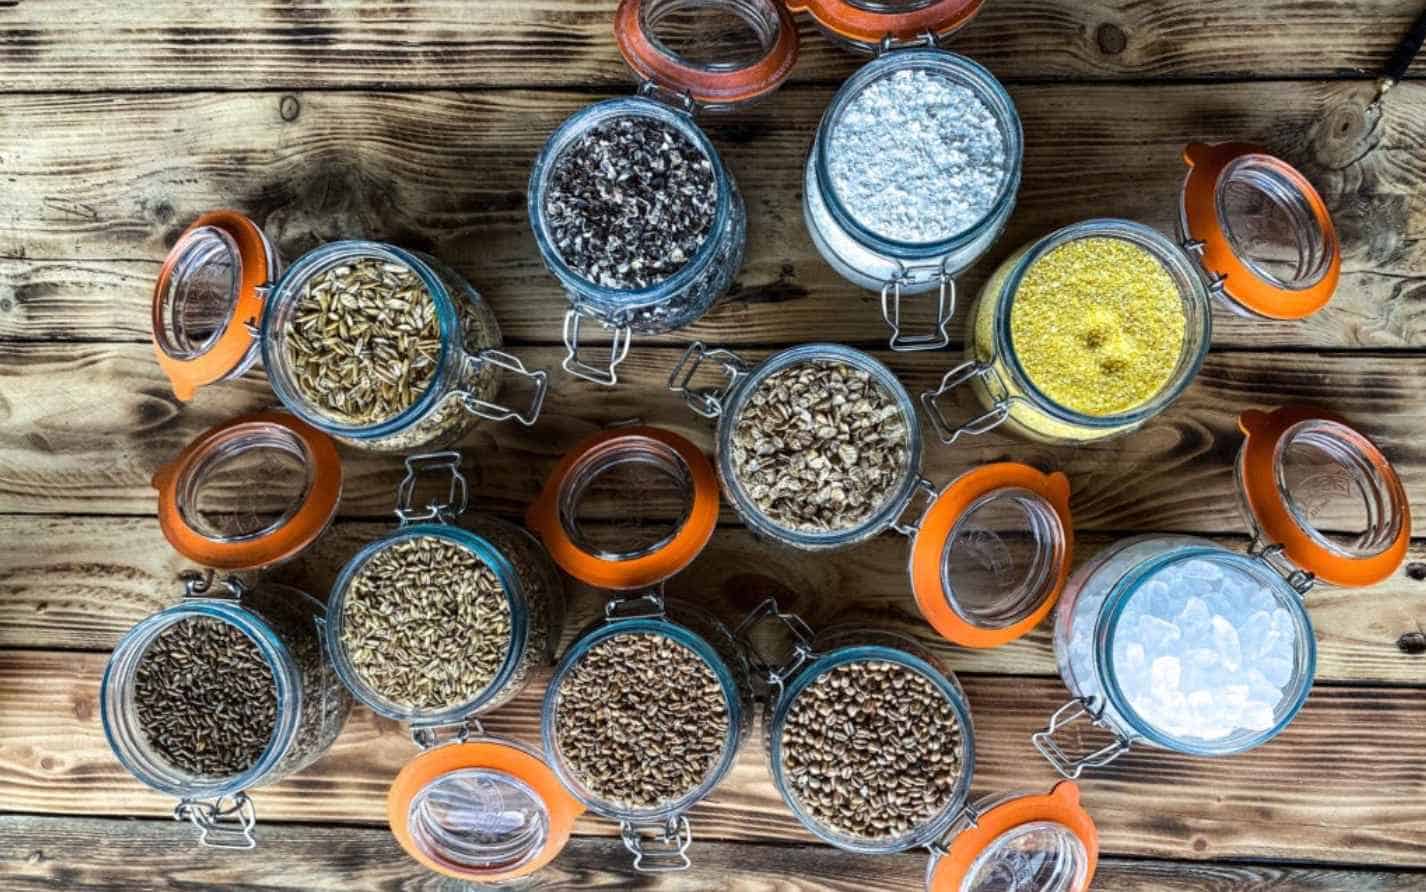
Now, here’s a tip you might find fun and enjoyable. One of the greatest joys of homebrewing is always having your way and style. Malts and hops can do magic without overpowering the aromas and yeast characters.
So, by all means necessary, believe in your power and experiment with the ingredients. But of course, if you like a traditional crisp and clean lager beer, you can minimize the elements.
9. Sanitize Properly
Finally, this tip needs to be emphasized more than ever. Effective and efficient sanitation is a must in all beer brewing styles. But it can indeed make a difference in lagering a beer.
As you might be aware, lagering a beer can go through a longer aging process. While the temperature is usually low and cold, there’s still a chance for bacteria to grow and thrive. So, take the time needed and include sanitation along the beer lagering process.
Check out these homebrewing tips and tricks for more information about lagering a beer.
Three Stages of Lagering
In lagering a beer, there are three stages involved. These stages will help one understand the overall process of lagering a beer.
Primary Fermentation
This first stage is known as the primary fermentation process. At this point, sugars are broken down into alcohol and compound. This process might be challenging since the brewers must keep the temperature at bay and cool the beer.
Maturation
Maturation, or as experts call it, “diacetyl rest,” is the stage where the yeast cleans itself, putting away the off flavors of lager. It generates the usual taste of green apple or butterscotch caused by the finished product from yeast.
Lagering
Finally, the last stage is called “cold stabilization,” wherein the beer lagering gets its name. The beer flavors come together at this final phase, and you’ll receive the traditional, clean, and crisp beer you aim for.
Frequently Asked Questions
Now, for this part of the blog, let’s take the time to answer the frequently asked questions about lagering a beer. Here we go!
What Does it Take for Beers to be Called a Lager?
Depending on the temperature and fermentation process, people can classify beers as ale or lagers. Brewer’s ferment ales using a top-fermenting yeast around a warm temperature of sixty to seventy degrees Fahrenheit.
On the other hand, you can find lagers fermented at a bottom-fermenting yeast at a much colder temperature of thirty-five to fifty degrees Fahrenheit.
Can I Lager a Beer at Room Temperature?
By lowering the natural unevenness caused by fermentation, homebrewers can successfully produce fantastic beer lagers at room temperature. An excellent strategy would be starting the fermentation process at an increased pitching rate of forty degrees Fahrenheit.
How Long Does it Take to Lager a Beer?
The rule of thumb dictates that the timeframe for lagering a beer is double the time for ale beers. While the ale fermentation process is usually done for around seven to ten days, two to three weeks would be a fair estimate for lager beers.
The Bottom Line
Compared to ale beer styles, the lager’s homebrewing process involves more complicated tips and tricks. And, of course, we can mention the temperature one needs to monitor and preserve.
But after the work, wait, and hustle, the finished lager beer product is worth the wait! So, if you like to start this endeavor now, feel free to do these tips! And don’t forget to mention us for your resulting lager beer product!
As a homebrewer, Michael would get frustrated about the lack of brewing information on the internet. After hundreds of gallons of spoilt batches, Micheal had enough. And he founded Unknown Brewing as a resource for homebrewers.