Are you planning to become a master when it comes to brewing beer in the comfort of your home?
Let me tell you that it’s something fairly easy to achieve with the right amount of information and proper equipment. To help you reach your goal, here’s a guide on how to keg beer at home.
Why Should I Keg my Beer?
For beginners in this field, it may be a question why kegging is important when it comes to brewing your own beer at home.
First of all, most brewers invest in a keg because of its ability to efficiently lessen your work with cleaning and bottling. Another reason why kegging is a better option for your draft is that it can make your beer taste fresher and crisper since less air comes in contact with it.
Before you decide on doing this, you should know first if it’s something that would be useful for you in the long run since it can be too big of an investment for casual homebrewers. The cheapest it can come to is $175 for the full setup, so be prepared if you’re planning to invest in something like this. For more information on kegging, including how many beers are in a keg, check out this helpful guide.
Carbonating in a Keg
Another thing that may pique the curiosity of homebrewers is the process of carbonation in a keg. Manually, we know that priming with sugar is the most common way to carbonate your draft at home.
However, if you do have a full set of keg equipment at home, you don’t have to worry about carbonating manually, as the machine would do all the work for you. To help you understand more, listed below are some of the best methods when it comes to carbonating in a keg.
- Quickest method: One of the things that homebrewers usually fight against is time and patience. It’s not that easy to wait for weeks or months for your draft; luckily, there’s a method to carbonate your beer faster than usual. But do note that doing this method is usually riskier compared to the normal ones.
- Medium-speed method: If you’re not too tense with time and could wait a few days for a sip of your homebrew, try this next method out. This process involves changing the regulator’s settings just for a day or two to quicken the pace of the carbonation process. After two more days, you’ll be able to enjoy a sip of your homebrew.
Equipment and Materials
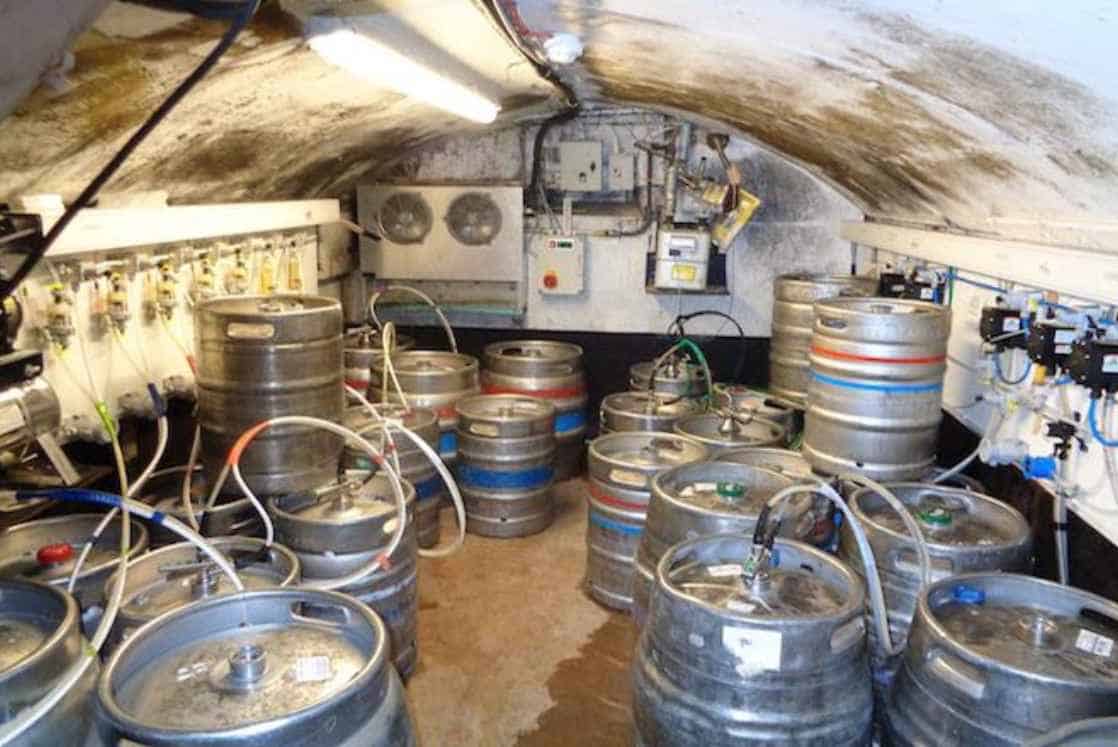
Before we go to the part where we discuss the process step-by-step, let us first see what are the different parts of the whole keg setup to fully understand the role each device plays. There’s quite a number of equipment on the list, so make sure to check each one of them out for a smooth kegging process.
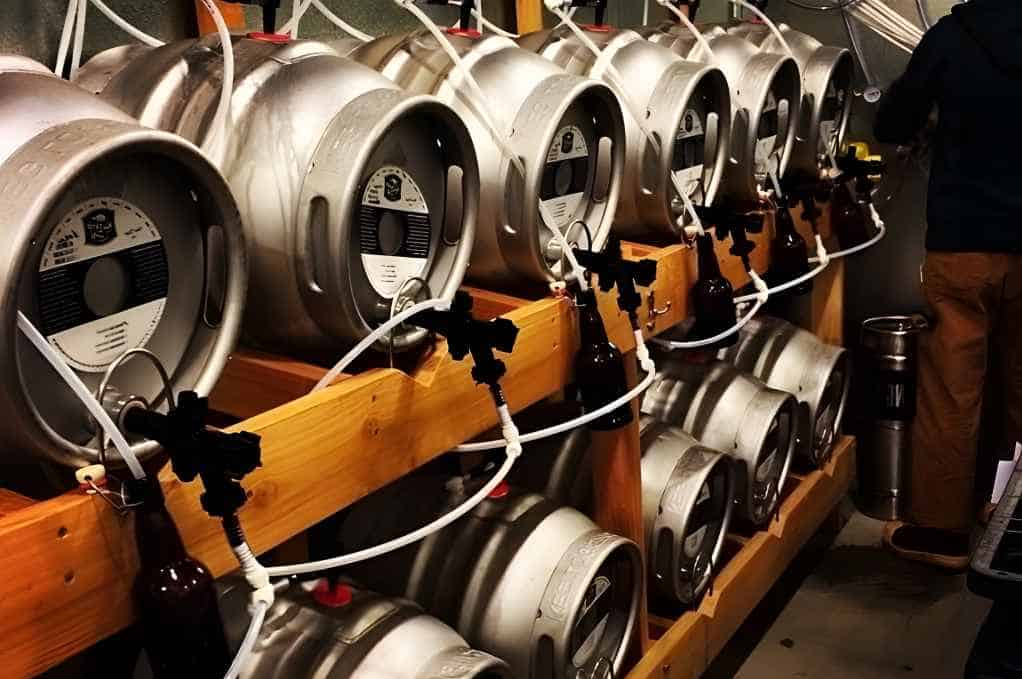
- Keg: How can you possibly do the kegging process without a keg? This is certainly the most important equipment since it plays a huge role in the process. You may choose between a Cornelius keg or the pin lock keg, but we recommend choosing the corny keg since they’re more adaptable to whatever type of setup you want to have.
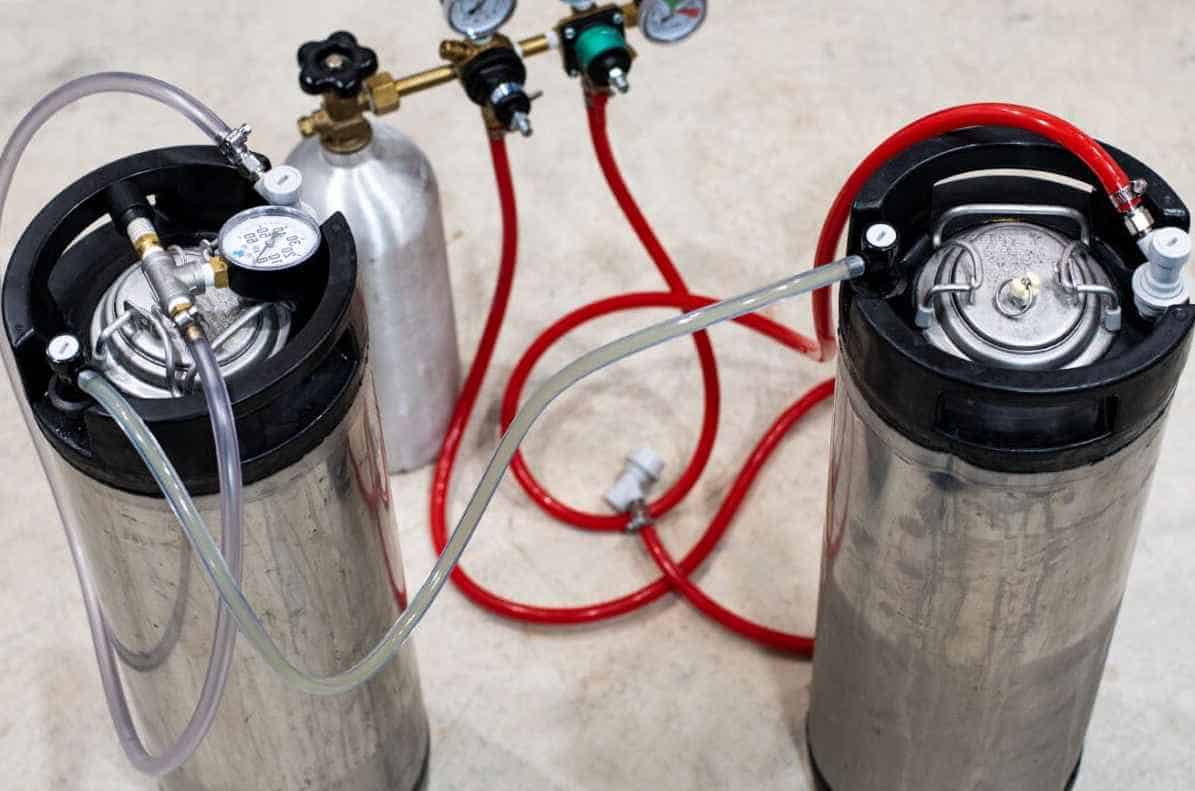
- CO2 Tank: The second most important device in the keg setup is the CO2 Tank. Choosing which CO2 Tank to use is also an easy choice if you ask me. You first need to consider how large of a batch you would be making. If you’re only making six to 12 bottles, you can never go wrong with a 5-pound or 10 pound-tank. However, if you’re planning to continuously make homebrew, investing in larger tanks is better.
- Regulator: Once you’ve got the first two items on the list, you may want to take your time in choosing a regulator for the setup. It plays an important role; trust me, you’ll need something durable and accurate if you want to use it for a long time. Learning to read a regulator is quite easy, even for beginners, so make sure you take some time to do that.
- Refrigerator: If we’re talking about producing homebrew, you certainly need a place to store them for adjusting temperatures once you’re done with kegging. For small batches, you can use a refrigerator, but if you want to invest for the long run, you may want to buy a kegerator with temperature controls.
Preparation and Setup
The first thing to do is disassemble the keg, but make sure you remember how they were removed so you can easily reassemble it.
Make sure that the keg’s pressure is released before disassembling it because having objects flying around can be a risk for you and the people around you.
After disassembling the keg, sanitize each part with the help of a PWB or Powdered Brewery Wash. This stuff is used to sanitize anything in the beer-making process, such as bottles and stuff. Mix 2 ¼ ounces of PWB with 3 gallons of water and put it inside the keg.
Use the solution to clean every part of the keg and crush or scrub it if necessary. Soak the keg for a couple of hours to days, depending on how dirty the keg is.
Next, remove the solution and put another solution of water and PWB inside before sealing it. Let it sit for a couple of minutes, then shake the keg before removing the solution. Now, your keg is ready to go.
The Process
By now, you should already know about the different equipment and setup requirements before proceeding to the main process itself.
The kegging process can be a bit meticulous at times, but trust me, you’ll see that everything’s worth it once you take a sip of that homebrew you made. You just need to double-check and ensure everything is going smoothly during the process. Let’s not waste our time and check out the steps below.
Transfer beer
Just as you finish setting up the keg after sanitizing each part, carefully transfer the draft you made to the keg.
One of the best ways to do this is by using a siphon between the two containers. Ensure you do it with the utmost care, as you shouldn’t let the beer splash inside the keg.
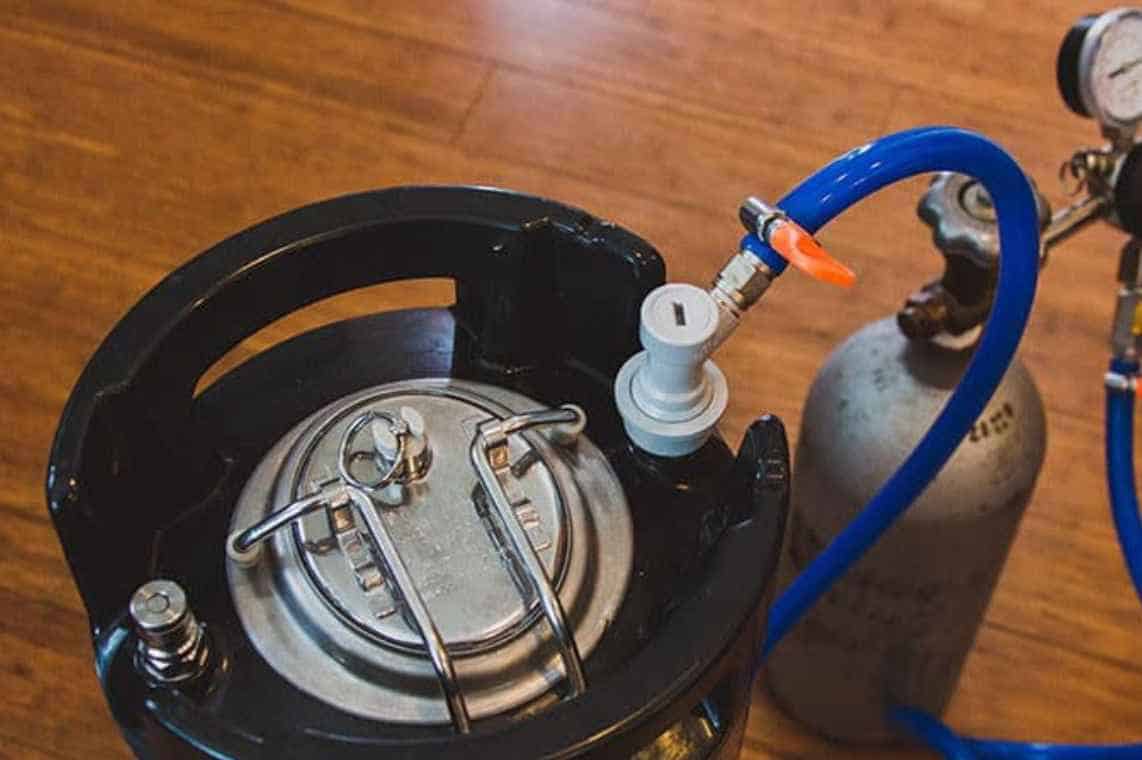
Seal the Keg and apply pressure to your draft
Once all the beer has been transferred over to the keg, make sure to properly seal it off. Be attentive and ensure that the gas tank and the keg are well connected with the regulator. After checking that every part is sealed off, it’s time to do the carbonation process.
You need to switch the valve on the regulator to release pressure. It’s located between the two gauges. Turn it slowly until you reach 10 psi. After 10 seconds, shut the valve before repeating the process. You can do this as many times as you like, depending on the carbonation level you prefer.
Test carbonation and refrigerate
At this part, you should know how much carbonation you want for your homebrew. Chances are that you’ll be refrigerating the beer after kegging in 40°F, so keeping 11 or 12 psi is enough to give your draft good carbonation.
However, if you’re planning to refrigerate your draft while not at 40°F, whether higher or lower, it’s up to you to adjust the amount of CO2 depending on your refrigerator’s temperature.
Frequently Asked Questions
By the time you read this, you must already have figured out how to set up and do the kegging process at home.
While you may be confident in the process now, there are still a few things that might be bugging you with uncertainty. To help ease your curiosity, here are some of the frequently asked questions when it comes to kegging.
Can I still save an over-carbonated keg?
One of the most common mistakes that most homebrewers make is that they over carbonate their draft too much.
Luckily, there are ways to fix an over-carbonated draft and one of them is by shaking the keg side by side to agitate the beer inside and make it release the extra CO2. Don’t forget to vent out the extra CO2 from the keg before and after shaking it.
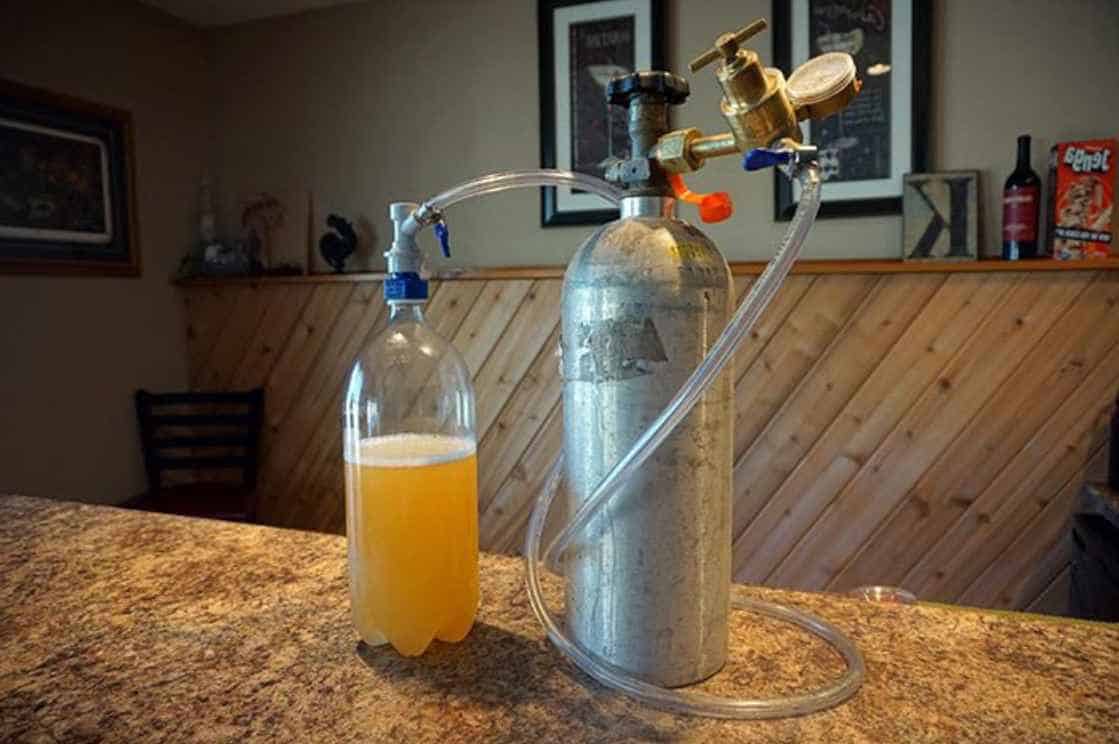
How to read a CO2 Regulator?
Once you see the regulator, your head might spin with all the numbers and colors on it because I know mine did. But to make things easier for you, let me tell you how to properly read a regulator. You’ll generally see two gauges on a CO2 regulator on the top and side.
The top gauge will show you the adjustable CO2 pressure, which you can control with the middle screw. On the other hand, the gauge on the side will show you how much CO2 is left in the tank.
Summary
Once you reach this point, you should already know what beer kegging is and how to do it.
Since we’ve given you a run down on all the equipment and materials needed and the process itself, you should be able to breeze through it. The last thing to do is enjoy a refreshing glass of your homebrew.

As a homebrewer, Michael would get frustrated about the lack of brewing information on the internet. After hundreds of gallons of spoilt batches, Micheal had enough. And he founded Unknown Brewing as a resource for homebrewers.