From ancient remedies to a valuable component of beer, it is no surprise why hops established their name today. In bygones, people harvest hops in the wild. Then eventually, they began to grow their own in their land.
But who says you can only grow hops on acres of ground? Today, we will share how to grow your own at home. From choosing hop variety to using homegrown hops for your brew. We got you!
The Hop Plant
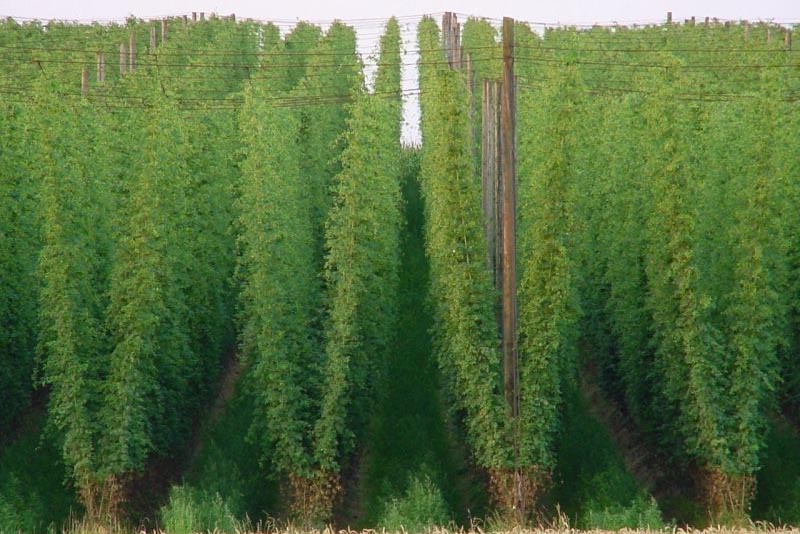
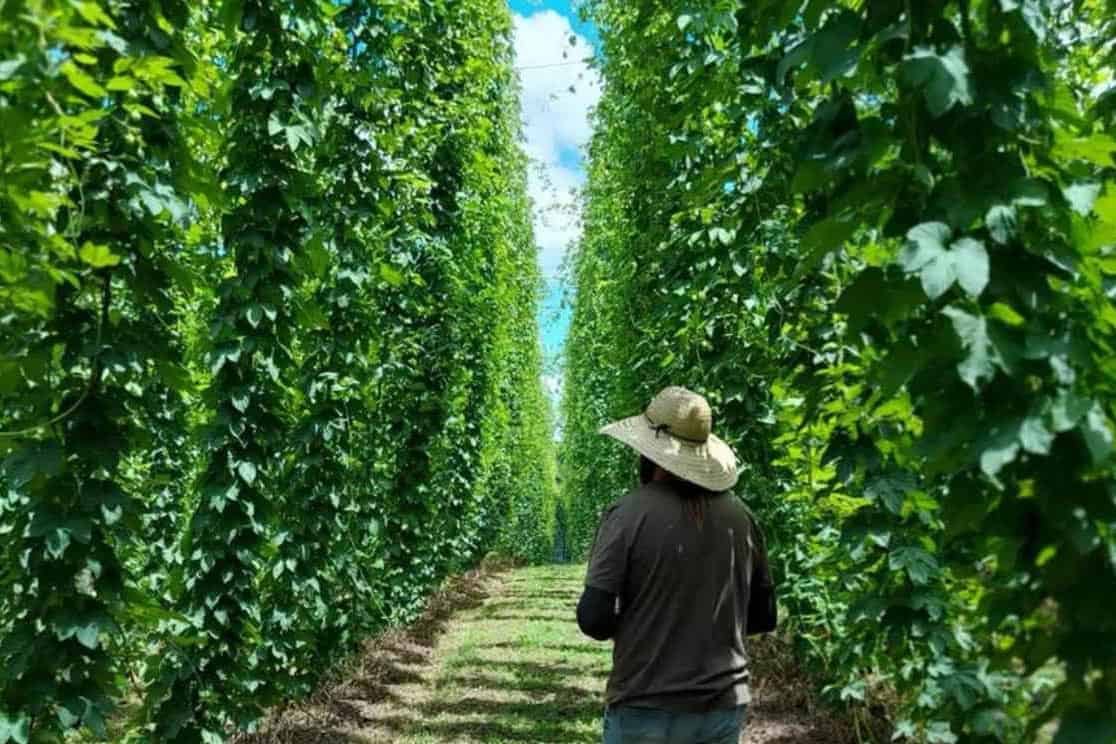
From the name of the hop plant, it may seem like a small bush thriving and crawling on the grounds. But it is the least you’d expect from this plant. Hop plants are towering bines that grow vertically with training. And yes, plants are trained as well so they can grow prolific.
Aside from this, hop plants acclimate to varying seasons. They die in winter but regenerate during spring. While they may lose their foliage and flowers, their underground roots and rhizomes are succeeding.
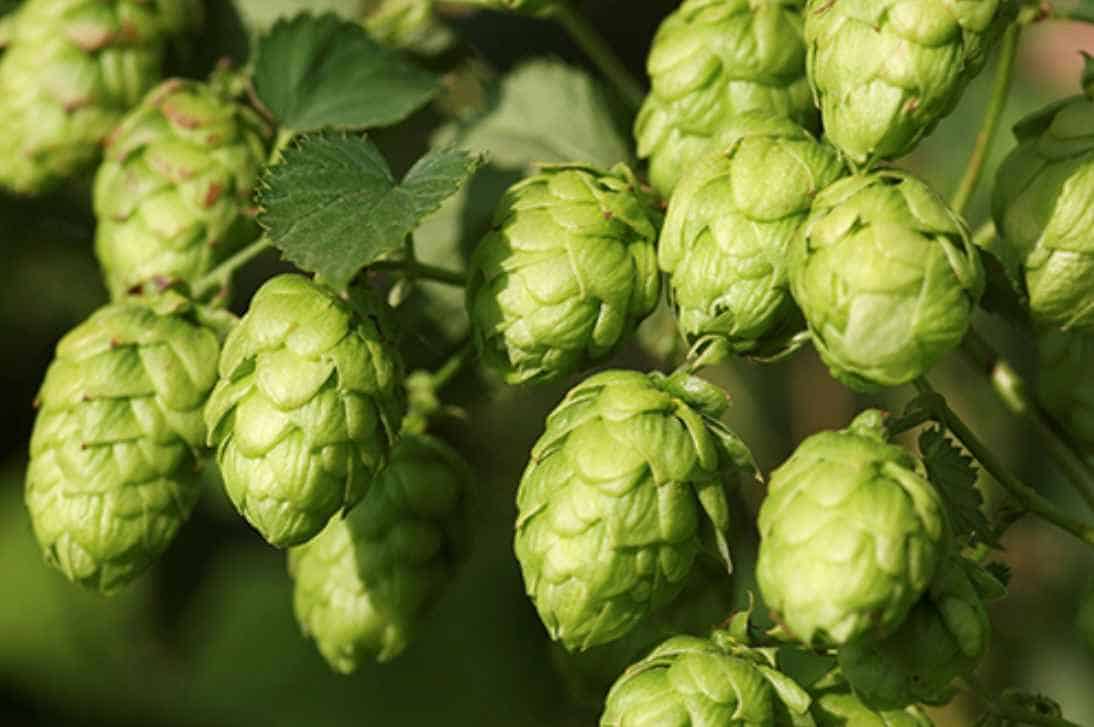
When it comes to varietal selection, one of the factors that brewers consider is the brewing characteristics of the hop. Is it bittering? Does it provide a spicy aroma? Is it fruity to taste? When it comes to yield, generally, high alpha acid varieties produce more cones per plant.
Hop Plant Varieties And Their Characteristics
Today, there are hundreds of hop varieties available worldwide. But not all of these are accessible to home growers like us. So here are some common United States hop varieties and their characteristics favorable for starters.
Bittering Hops

All of the hop varieties have bittering flavors. Although, some types have more pronounced bittering properties than others. Usually, these varieties are added early in the boil to offset the brew sweetness. Here are some bittering hops that you can try growing at home.
| Hop Variety | Alpha Acid % | Beta Acid % | Beer Styles |
| Zeus | 13 – 17.5% | 4 – 6.5% | IPA, American Pale Ale, Stout, Barleywine, and Lager |
| Magnum | 10 – 16% | 4.5 – 7% | Ale, Lager, Stout, Pale Ale, and IPA |
| Liberty | 3 – 6.5% | 3.0 – 4.0% | German Lager, American Lager, Pilsner, Kolsch, and Wheat |
Aroma Hops
A beer is not complete without an inviting aroma to greet you. Some varieties have spicy and earthy aromas, while others have a fruity and sweet taste. And unlike bittering hops, aroma hops are added as a finishing layer to the brew. Here is some aroma hops that you can try growing at home.
| Hop Variety | Alpha Acid % | Beta Acid % | Flavor and Aroma |
| Galena | 12 – 15.5% | 7.2 – 8.7% | Blackcurrant, pear, grapefruit, lime, and spicy wood |
| Crystal | 2.8 – 6% | 4.5 – 8.5% | Spice notes of pepper, cinnamon, and nutmeg; fruity and floral aroma |
| Tahoma | 7 – 8.2% | 8.5 – 9.5% | Orange, lemon citrus, wood, and spice |
Dual-Purpose Hops
If you want to hit two birds with one stone, then dual-purpose hops are the answer. It can be added to any brewing process and works as a bittering or aromatic. Here are some dual-purpose hops that you can grow at home.
| Hop Variety | Alpha Acid % | Beta Acid % | Beer Styles |
| Cascade | 4.5 – 9% | 4.8 – 7.5% | American Ale, Porter, Barleywine, and Witbier |
| Chinook | 11.5 – 15% | 3.0 – 4.0% | Winter Ale, American Pale Ale, Stout, Porter, and Lager |
| Centennial | 7 – 12% | 3.5 – 5.5% | Wheat Beer, Pale Ale, and IPA |
Preparing The Hop Growing Location
Before growing hops in your backyard, remember that planting them is a long-term commitment. It is a permanent thing that you cannot move around whenever you want (unless you place them in containers).
So preparing the location from the very start is very crucial. But to make things easier, here are 3S’ to guide you in choosing a spot.
Space
Hop requires plenty of space as they grow very fast. If you’re thinking big yields per year, a distance of 3 feet is necessary for growing hops. Tall trellises or strong twines should have enough space where hops can crawl vertically. But a low trellis system also works for those who don’t have enough ground to cover.
Site
Like most vines, hop plants enjoy the heat of direct sunlight. Secure a spot where the sun shines for 12-14 hours. It also needs easy access to water, so you don’t have to worry about drying it out. Lastly, the location should have at least 120 frost-free days for hop plants to bloom.
Soil
With rich and healthy soil, you can expect a lively-looking hop plant. Generally, it should have a pH range of 6.5 to 8.0 and good drainage. Hops also love nutrients, so adding fertilizers like manure compost helps them thrive.
Planting and Maintaining Your Hops
Before digging a hole in your yard, have you found a rhizome to plant? Purchasing a hop rhizome is best done in early spring after the last frost. And to ensure you get the high-quality ones, we’ve curated a quick guide you can follow.
- Look for rootlets and white sprouts.
- Look for a plump rhizome. Avoid those that are withered and dried.
- Firmly squeeze the rhizome. It should be firm to the touch with no soft spots.
- Go for the healthy-looking ones. Some may have a disease if not thoroughly checked.
- Inspect your rhizomes first. If it passed the test, now is the time to start planting.
Planting
Once you’ve secured a location and a rhizome, it’s time to locate the shovel. Start digging a hole enough to cover the roots of the hop plant.
Place it vertically with the buds pointing upwards, then cover it with an inch extra of loose soil. If you plan to plant another variety, locate it 5 feet apart from the other. But if it’s the same variety, you can place it within 3 feet distance.
Hop Maintenance
We know how excited you are to water your new plant. But remember, too much water in young hops can cause more harm. For the first year, do frequent light watering only. Adding organic material like mulch also helps lock in moisture. Once the hop plant matures, it’s time to do less-frequent deep watering.
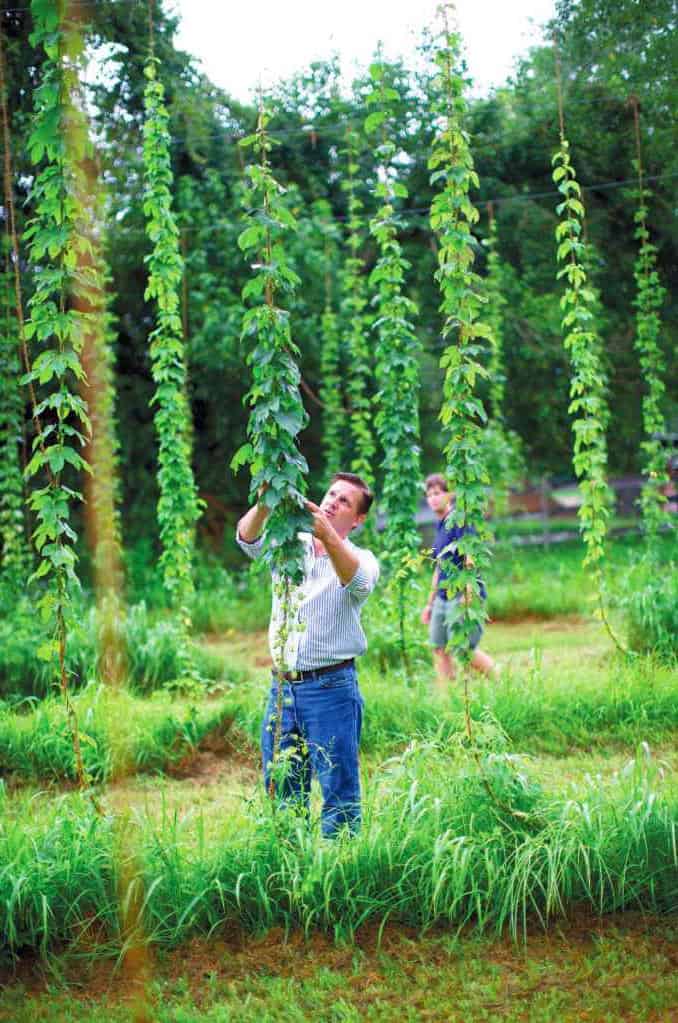
Now when does training come in? If the hop vines reach at least 1 foot long, you can wrap the vines clockwise around the trellis or any support system you created.
As it grows continuously, vines may shoot in a different direction and cause tangling. To prevent this, prune the plants and remove the weaker ones from the ground. Then, leave at least two to six vines to train and grow vertically.
Growth like this is also the best time to re-fertilize your soil. Add fertilizers rich in nitrogen, potassium, and phosphates to feed in nutrients. But don’t forget to visit weekly to avoid a jungle of vines forming in your backyard.
Harvesting, Drying And Storing Home Grown Hops
Harvesting and brewing homegrown hops are probably the most satisfying things for home hop growers. Imagine all the care and effort put into growing a hop paying off with a basket load of harvest. Oh, the bliss of being a home-scaled grower!
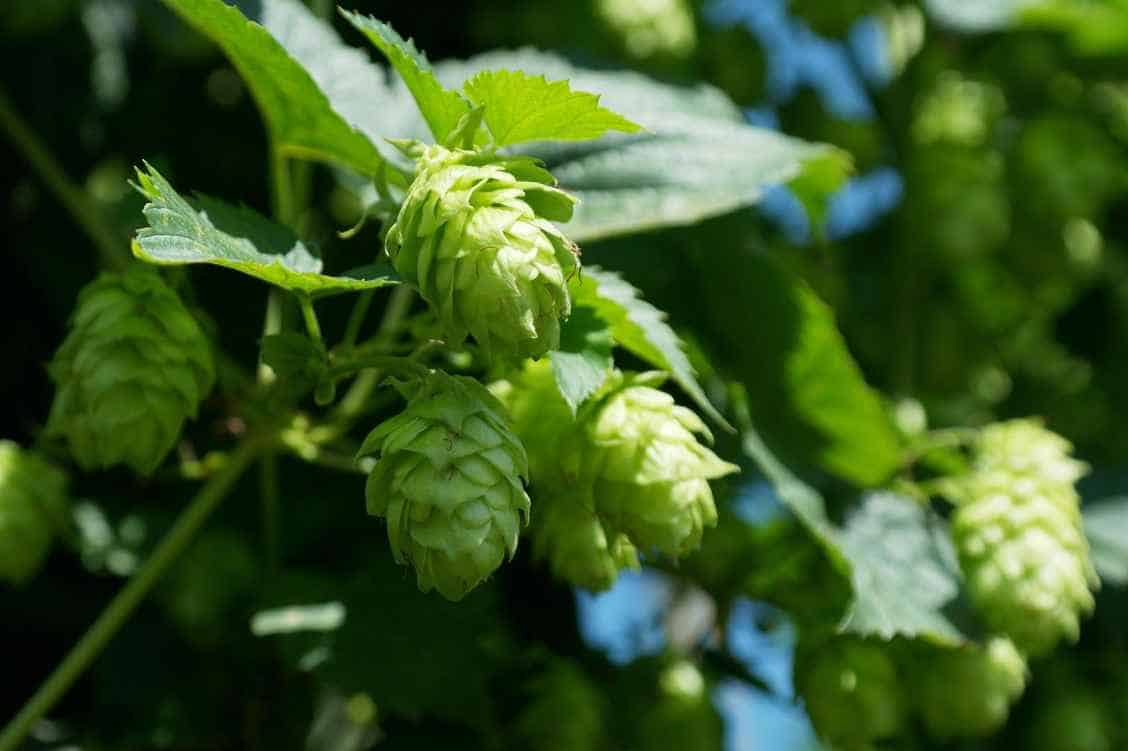
The harvest season varies on the variety of hops and the location. Some types, like nugget and cascade, take longer to ripen than Saaz and Fuggle. Some cones may mature faster because of the amount of sunlight they get. Generally, in the Pacific Northwest, harvesting begins in the middle of August and until September.
Since there are different factors to consider, limiting it to one harvesting session may make you miss some good ones. So here are some guidelines to know when to pick the hops.
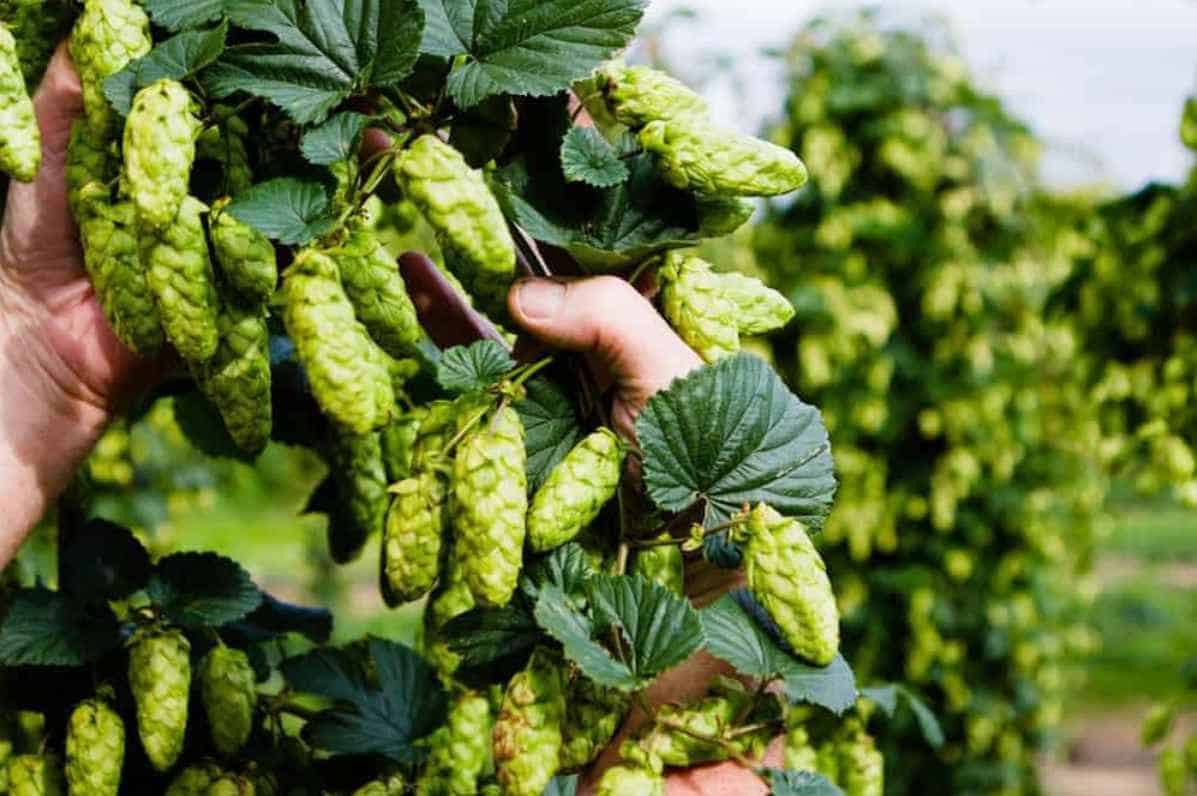
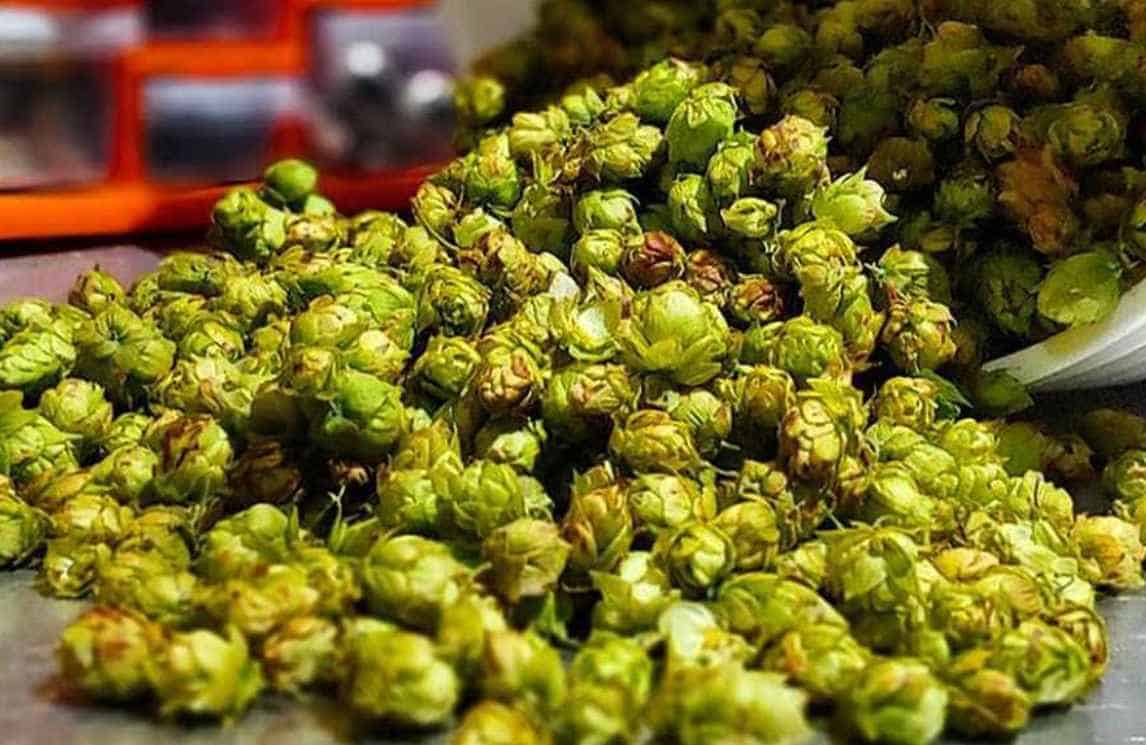
- It is ready for harvest when it feels papery, light, and drier;
- If it is lightly sticky and your hands take up its smell.
- Once harvested, you can now dry the hops to improve their quality. If you opt to use a dryer, make sure that the temperature does not exceed 140°F.
- To naturally dry the cones, lay them out on a window screen and fluff them out daily. Usually, it takes three days to dry. But to confirm it is ready for storage, the lupulin powder should easily fall out, and the cone should be springy to the touch.
- After drying, you can store it in zip-lock bags and place it in a freezer to preserve its quality and freshness.
Where to Use Homegrown Hops
After planting, harvesting, and drying, it’s time to turn your hops into edible goodies.
Baking
Hops mean beer most of the time. But did you know that you can make bread using hops? In this five-ingredient recipe, you can transform your hops into a soft yeast bread you and your family can enjoy. You can also convert this recipe to doughnuts, pie, and sweet bread with just a few added ingredients.
Brewing Beer
If you’re up for experimentation, you can do two brewing methods after harvesting. The first method requires using ripe hops. Meanwhile, the second method utilizes dried hops. But here’s a fair warning: dried hops are predictable and contain lower moisture.
To learn more about brewing beer using homegrown hops, watch this video:
Summary
Learning how to grow your hops at home is satisfactory and sustainable. When preparing the location, it is vital to follow the 3S’: space, site, and soil.
Also, don’t forget the four guidelines when purchasing a rhizome. Planting and maintaining is the most tedious part of growing a hop, but once it bears fruit, it can give you joy that many home growers experience.

As a homebrewer, Michael would get frustrated about the lack of brewing information on the internet. After hundreds of gallons of spoilt batches, Micheal had enough. And he founded Unknown Brewing as a resource for homebrewers.